Artist Tips: Matt Abbott and Alex Powell
The engineers behind Label Worx impart their knowledge on mixing and mastering.

Artist Tips: Matt Abbott and Alex Powell
The engineers behind Label Worx impart their knowledge on mixing and mastering.

Matt Abbott and Alex Powell are the engineering masterminds behind Label Worx‘s acclaimed mixing and mastering service. With over 15 years of production, mixing, and mastering experience between them, Abbott and Powell have added clarity, depth, and detail to countless records from labels such as Yoshitoshi and Do Not Sleep, while releases they’ve worked on have also landed on major labels such Universal, Warner, and Sony Music. Outside of their engineering duties, the Abbott and Powell also produce and DJ as Mindek, a new creative outlet that blends classic influences from the early trance and techno scenes with more modern club-ready house and techno.
With celebrated experience across the whole production spectrum, Abbott and Powell have offered to impart their knowledge on mixing and mastering, providing seven tips to help polish your tracks and get them ready for club play.
Don’t listen to it
One thing we see a lot in the mastering studio is artists sending in work that is “finished,” then over the following days, two or three more versions of the same track come through for mastering. We’ve been guilty of doing this ourselves; it’s easy to get excited when you’ve just finished your latest banger, but all good things come to those who wait. The key to nailing your mixdown and getting your track polished is to not listen to it for a while, then come back to it with fresh ears. The more headspace you have away from a track you’ve been pounding for weeks, the more clarity you will have listening back and making those final judgments before starting the mastering process.
Feel the vibe
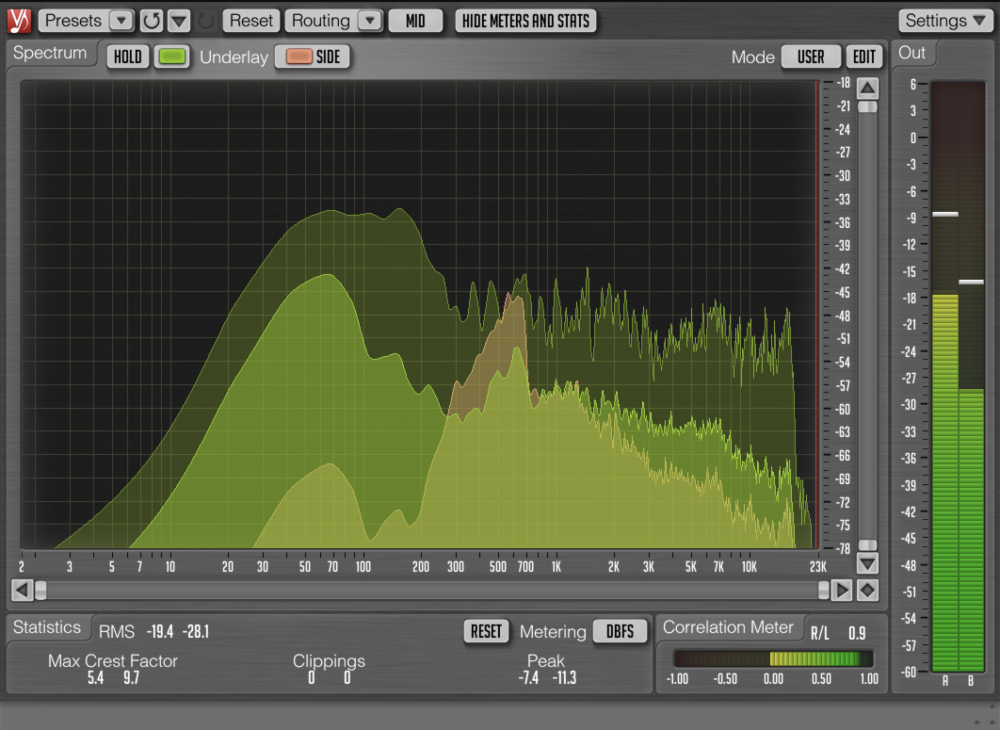
Sometimes it can be tough to really get a good flow going on a track when it’s a little flaccid and not gelled together with a little compression and limiting. In your project template, you should already have some good metering plugins, compression, EQ, and limiting racked and ready to go. Pushing your mix into these from the start will give you the pump of a polished track and help keep the vibe while writing. Although this is probably the worst advice you can give for nailing a mixdown, it certainly keeps the creative vibe flowing. When it comes to nailing the mixdown, turn all of these plugins off on your master chain and treat the mixdown as a separate session.—we will talk more about this in the next section. We use Logic’s loudness meter to keep an eye on how far things are pushed and Voxengo’s free plugin SPAN to keep an eye on balance and MID/SIDE. The best thing about viewing your MID/SIDE is that you can see if you have anything phasing (spread too far), which ultimately cancels itself out when listened to in mono—this is also good to spot any stray stereo bass you have below 150 hz. If you have sub bass below here, it does nothing more than take room up in the mix, so keep your kick and any bass below 150 hz in Mono (this reference is debatable, but we feel it sounds great here).
Bounce It Out
It’s far too easy to get in the studio and spend a whole day messing around with samples and plugins, which is, of course, fine; however, when it comes to time for mixing, try bouncing out the stems of your production into a brand new session. Open a new arrange page/project file and import the freshly bounced stems. There are a few reasons why we recommend this:
Taking your stems and putting them in a new arrange project, or even a different DAW, will stop you thinking you already have too much going on (too much EQ, too many FX etc.). Instead, all you see is the stems with no plugins on them, allowing you to get stuck in with fresh dynamic and EQ plugins to get the mix just right. We have always mixed and mastered in Logic X—we used it for years and it feels like home turf. We produce and create all of our music in Ableton Live and when we’ve finished we bounce out the stems to mix it in Logic—we seem to get better results doing this, which may be down to separating the two processes and getting a fresh perspective. Give this one a go.
Start from Scratch
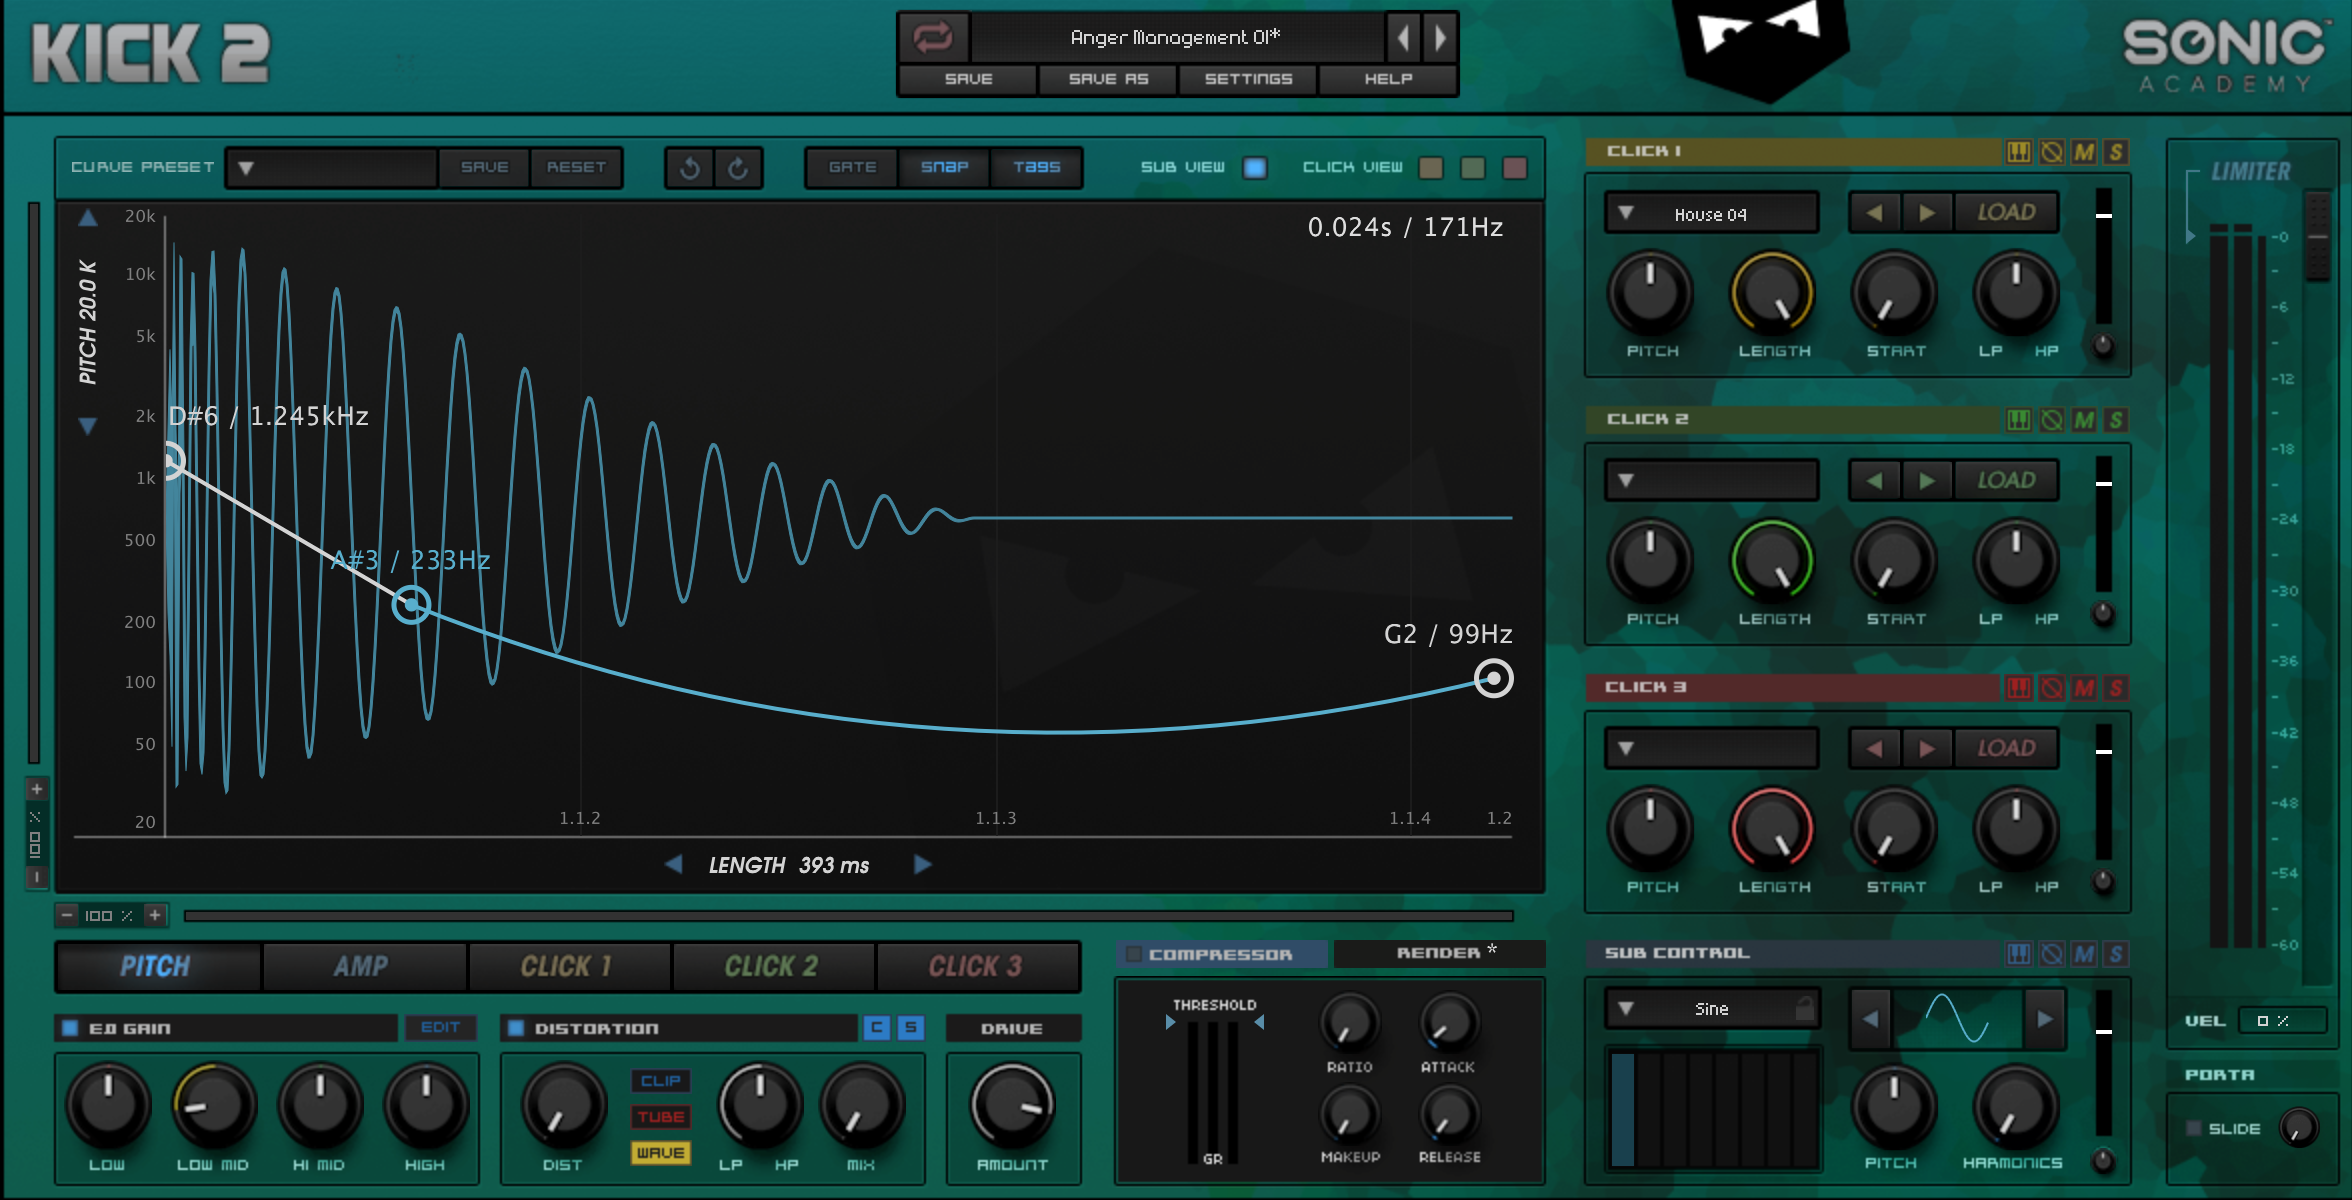
So you’re working on a track and your drums sound horrible. Stick some compression and EQ on them and mess with it for an hour? Probably a massive waste of time. If something sounds bad, your sample or sound choice was probably the wrong one to begin with. If you can get your sounds and samples sitting properly without any EQ and compression, they are gonna sound top quality once you get to the compression and EQ stage. Our best advice for this is to use the best quality samples you can find for your main elements. Also, make sure they are in key. Believe it or not, if your percussion is all in key with the rest of your track, it will naturally be louder as there is far less harmonic distortion going on. Most DAW’s have a drum synth included now, so try and get the meat of your kick drum in key using one of these. Sonic Academy’s Kick 2 is great for this and you will see a hell of a difference, even if you’re using these for the low-end punch and layering with your favorite crusty sample. Tuning the rest of your percussion is quite easy if you use a plugin such as Ableton’s Impulse, Native Instruments Battery, or Logic’s Ultrabeat to program your drums as they allow you to tune each percussive element. If you’re using samples and loops, try using a pitch plugin or your DAW’s way of pitching audio up or down. Most DAW’s have a way of doing this quickly. To make sure they are in key, put a tuner plugin on the channel and check what note the samples are hitting on. This can be time-consuming but very effective for tightening up the overall sound of your mix.

Strength in numbers
Two sets of ears are without a doubt better than one. Never be ashamed of using another mix or mastering engineer. Pretty much all of the world’s biggest artists have help when it comes to mixing and mastering, so it’s definitely not cheating to ask. Getting another set of ears on your mix usually puts a whole new perspective on the final version. It’s quite easy to get lost in a tornado of kicks, claps, and bass and forget about other elements when mixing your own track. Mix engineers focus on bringing the best out of your track from a different perspective and often bring the whole thing to life.
Mid to Side
Mid/side processing has an elusive magic about it. It’s often looked at as a dark art in mixing and mastering but is actually really easy to do. Here’s a simplified version of how it works for anyone who hasn’t quite got their head around it yet.

Stereo information is not really about left and right, it is the difference between the left and right. Confusing right? Here is the easiest way to imagine it: you have a hotdog in front of you. The sausage is all the mono information that comes out of both speakers equally—vocals, kick, bass, most percussion etc. The bun is the sides. This is the information spread between left and right. The sausage should always be level with or above the top of the bread. If the bread is higher and the sausage is sinking into the bread, you have a really shit hotdog, or in audio terms, you have phasing. If the side information is louder or spread further than the mono, you get phase cancellation—this is where sounds are canceling each other out, especially when you mono them. So to get to the end of the hot dog analogy, keep solid elements mono, pan a few things to get that natural side information and selectively spread or place a few elements of your mix in the sides. This will translate into a far more 3D and full sounding mix. As we mentioned earlier and can’t stress enough, we find the best way to check for phasing is a free plugin called Voxengo SPAN. You can set this up in Mid-Side mode, which displays the Mid information and Side information overlayed. If the side information goes higher than the Mid, this is a visual representation of phasing and easily points out where you need to dip out in the sides, using a mid/side EQ.
Master of Mastering
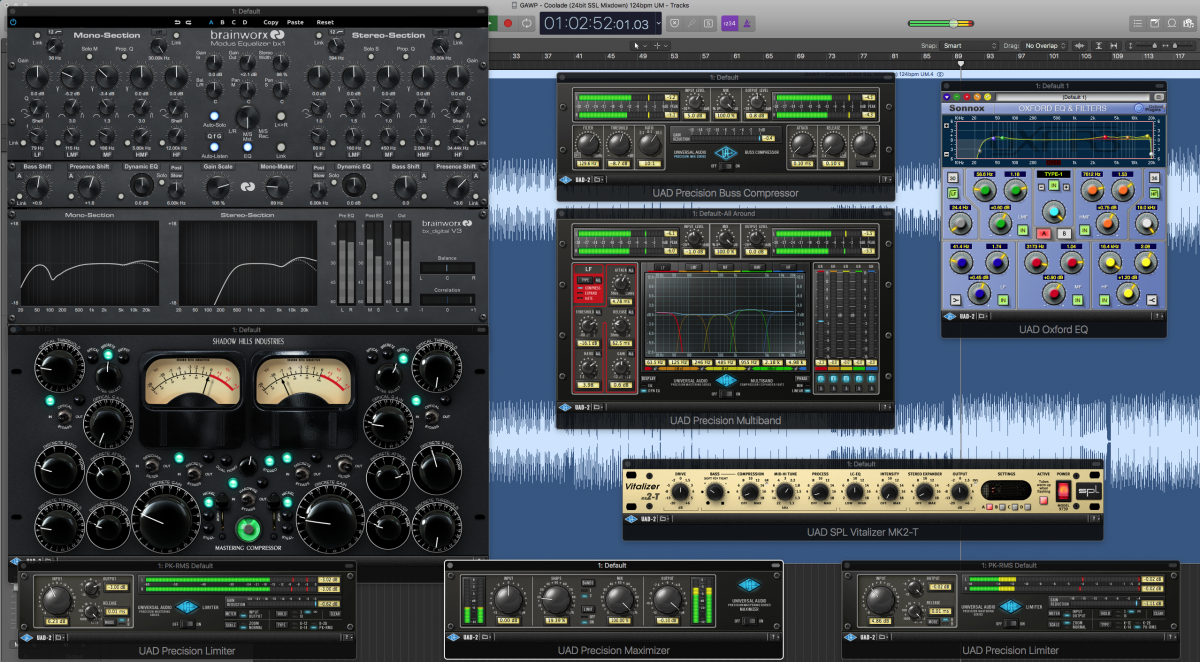
Here are some of our go-to tips for home mastering: firstly, do any corrections before you start compressing and coloring a mix with EQ. Use a clinical EQ to get rid of anything spread too far in the sides and remove any boominess, harshness etc. We use UAD’s Brainworx V3 plugin to do this. This allows you to remove or add information using EQ in the Mid or Side of your track, correct phasing issues, and shape the overall track a little with some very clean filters and EQ. Logic’s EQ is also really good for a DAW EQ for removing unwanted information in a track. Next, level it off. We use a limiter to just catch any rogue peaks that could trigger a compressor later in the chain. Add a limiter and set the output volume to -3.db. Drive the limiter threshold until it just starts to tickle the peaks within your track, reducing no more than -1 to -2db. This will then catch the peaks but still leave room for everything else you’re going to do in the mastering chain. Of course, make sure your premaster is no louder than -3db, otherwise, you’re essentially just turning down a pre-master which is too loud.

From here the world is your oyster. Use a combination of clinical or colorful EQ and compression but remember never to overdo it. A good place to start is this: try to use some colorful or vintage compressors such as the UAD Shadow Hills or another opto compression modeled VST with a fast attack, reducing no more than -1 to -2db. If something needs more compression, use two different compressors that are only just tickling the mix. You will get a far better result than just driving the hell out of one compressor. After this you can use some special processing such as stereo spread to lift any areas you feel need more dimension, followed by a little more EQ to the lows and highs if needed. At this point we would use transparent plugins such as the UAD Oxford EQ, again the Logic EQ or Fabfilter Pro-Q would also be good for this. If you do this right and never let anything clip, you can easily get your mix loud and the final limiter in the chain will only be reducing around -2 or -3db. If you’re having to push your limiter further than this to get a good loudness, the rest of your compression and EQ is most likely wrong before this.

