Artist Tips: Grand River
Tips and tricks from Aimée Portioli.
Artist Tips: Grand River
Tips and tricks from Aimée Portioli.
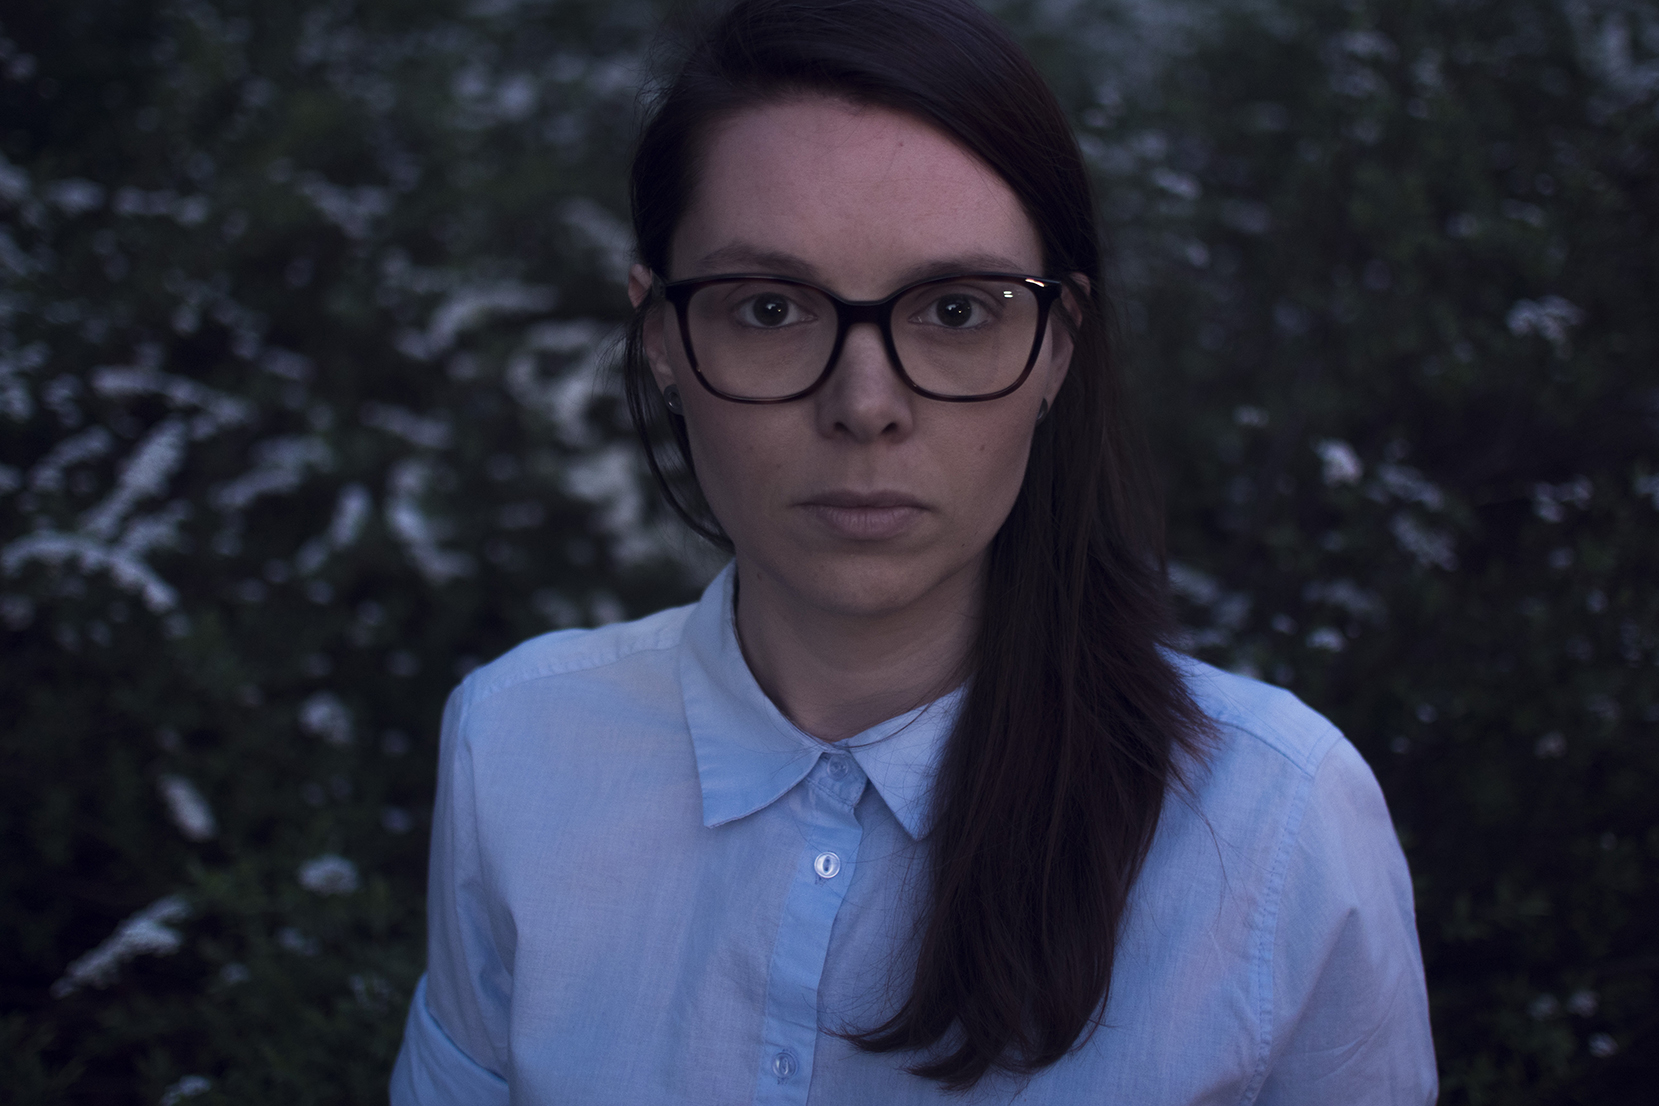
Aimée Portioli, also known as Grand River, is a Dutch-Italian composer, musician, and producer based in Berlin. Drawing on her background in traditional music composing and the study of several musical instruments, she’s spent many years working as a sound engineer and composer for a national radio station in Italy (Radio 24) and for several post-production companies through her sound agency. Portioli is known similarly for film scores and sound design; having debuted on Donato Dozzy and Neel’s Spazio Disponibile last year, she recently resurfaced with her debut album, Pineapple, that references her “love of electronic music and sound design,” as well as her background in traditional composition and formal training, all the while “incorporating ideas from her work in scoring films.” In 2016, Portioli also created One Instrument through which she releases sound experiments from different artists composing pieces by using only one instrument. But now, in support of her debut album, Portioli offered a peek behind the scenes at some of the tips and tricks behind it.
Have All Your Equipment Connected and Ready
I start working on a composition by experimenting. Sometimes it is good to have an idea about the sounds you want to obtain as it helps to give a general direction to the working process and tools to use; however, there should be room to let things happen along the way, because sometimes ending up somewhere else can turn the initial idea into something interesting and unheard. My personal projects excite me the most because I love the idea of having a clean canvas. It’s different to composing for an advertisement or the film industry.
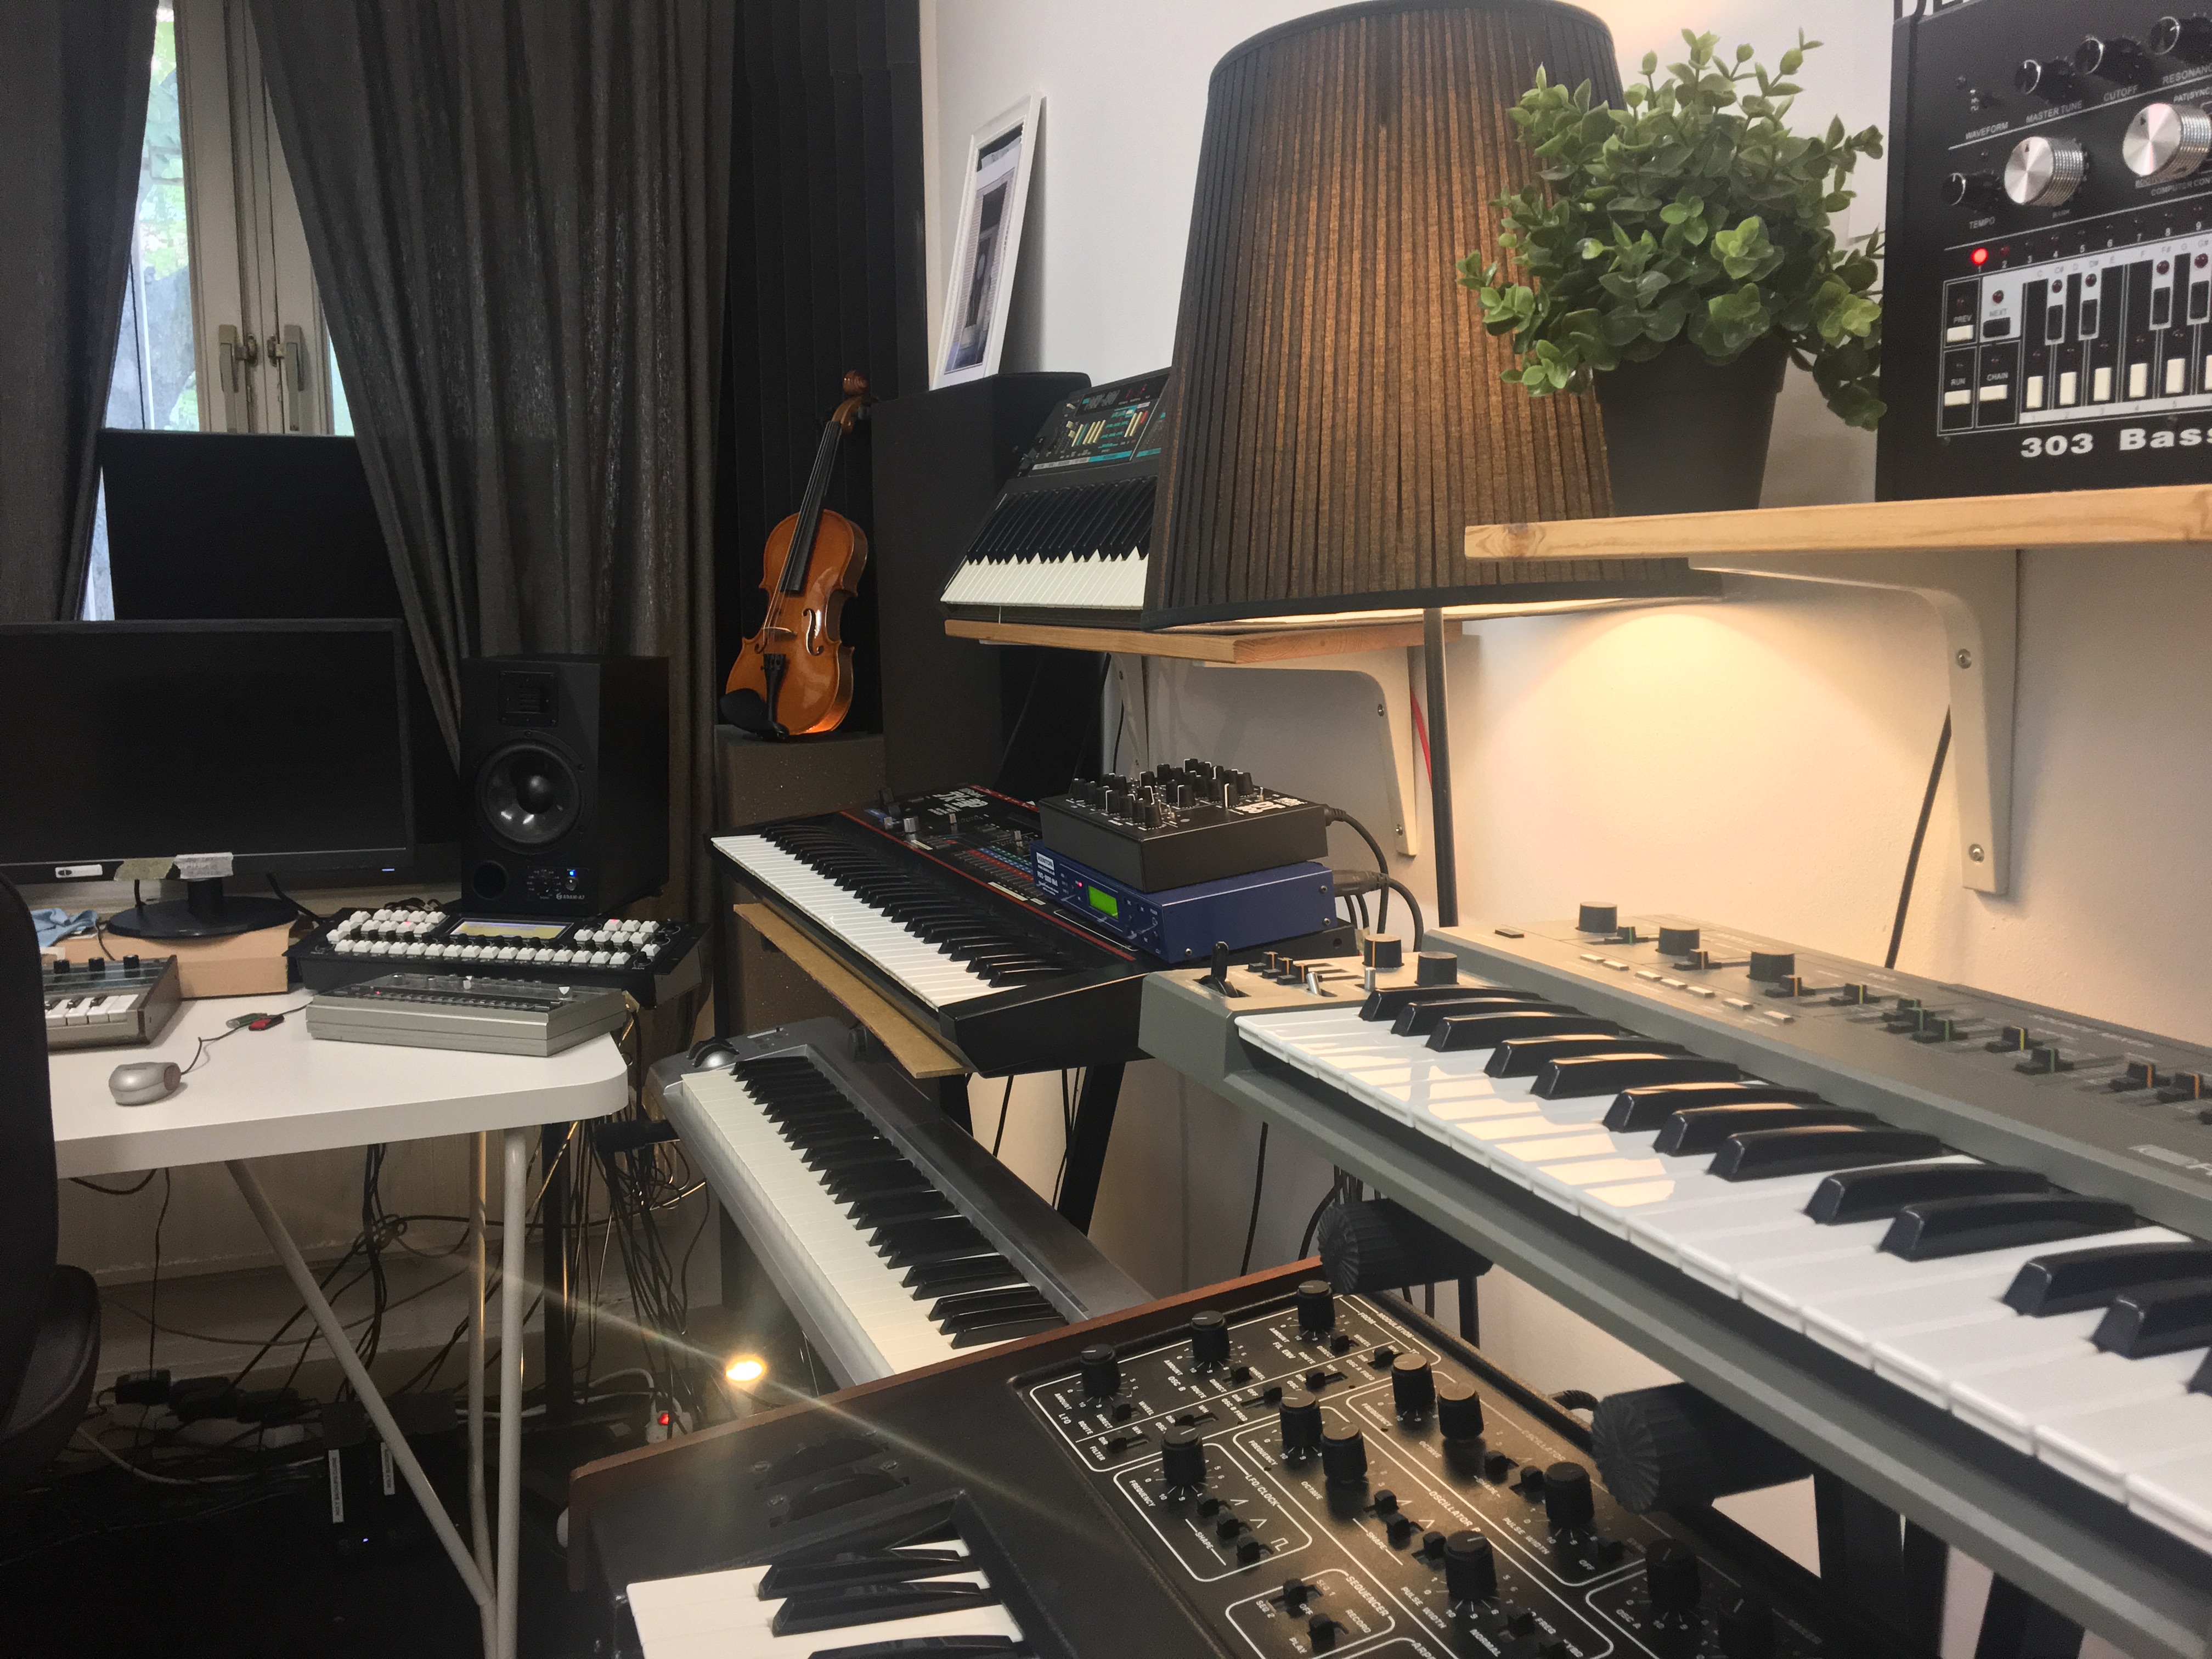
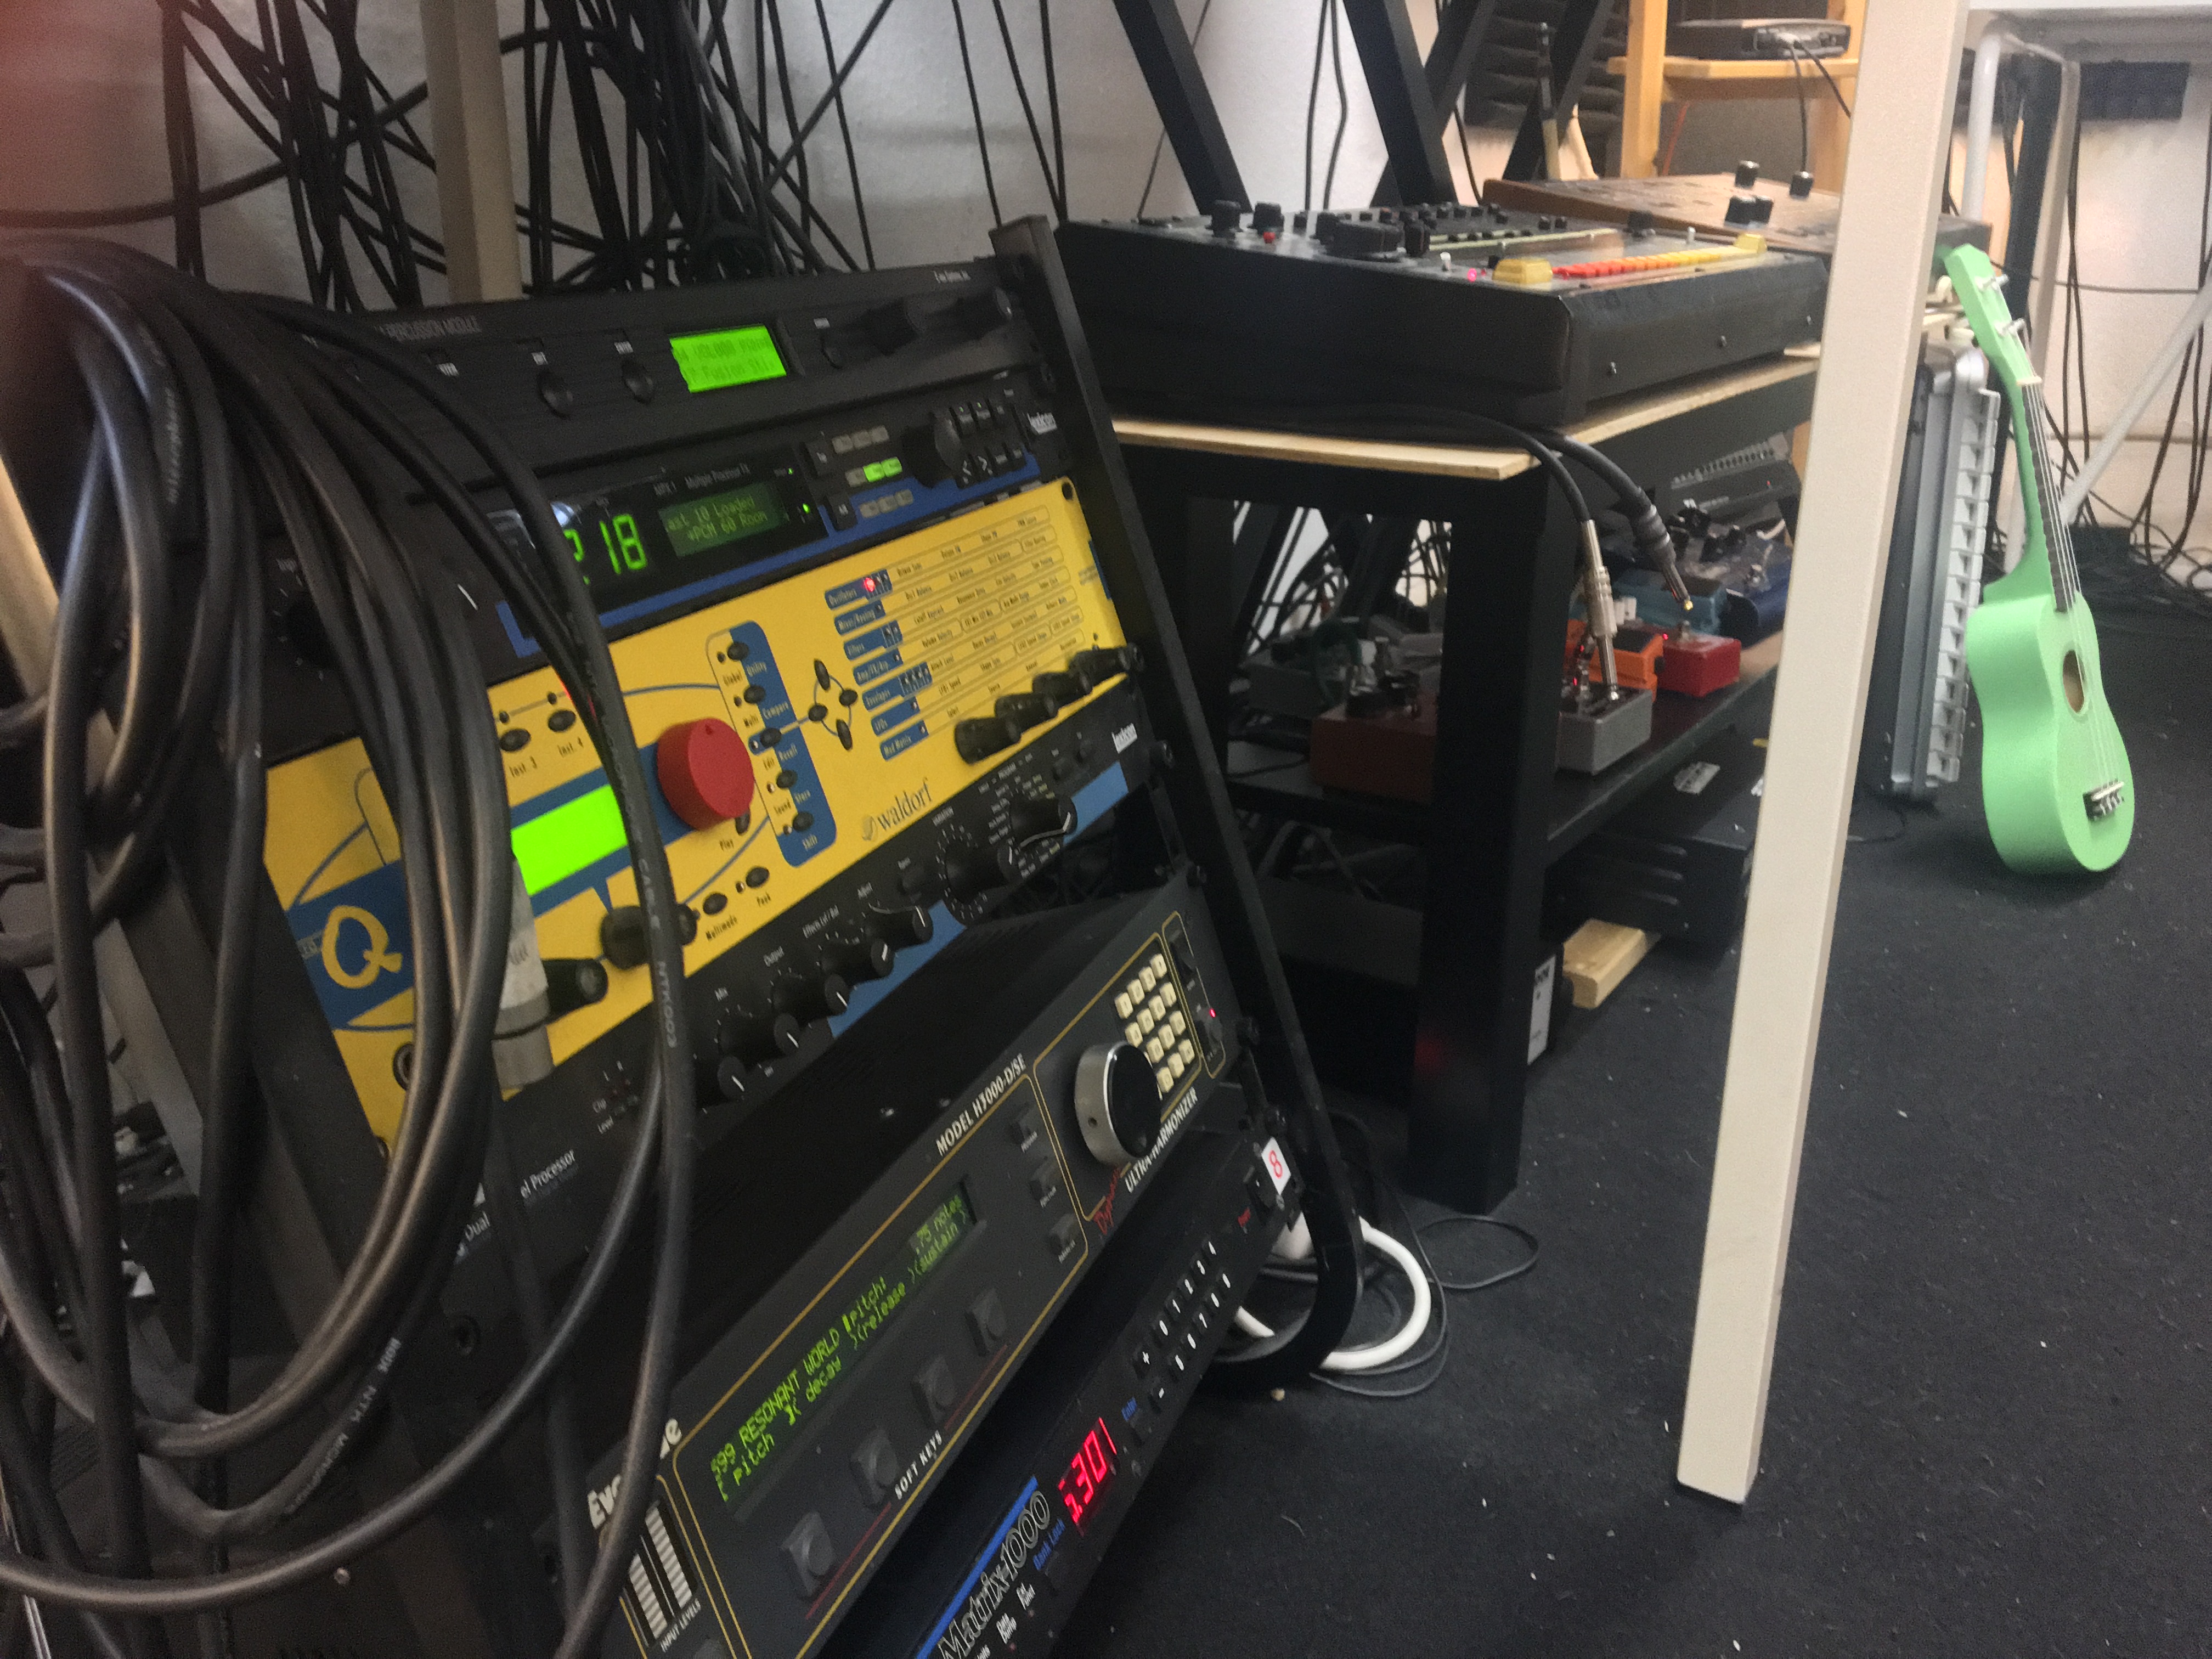
In order to grasp the full potential of this initial creative phase, I keep all the studio equipment connected to a hardware mixer, so that when I check in I only need to turn on a few power strips to get it all going. In my previous studio, I didn’t have a hardware mixer and all the machines went to the sound card through a patch bay and it was annoying. Even earlier than that, I used to have synthesizers under my bed and I tended to be too lazy to pull them out and set everything up. In my current studio setup, all signals go through the mixer to three different stereo channels of my audio card. The mixer has three group outputs so that I can record three stereo signals at the same time into Ableton on three separate stereo channels but I don’t often record more than one instrument at the same time. Having everything connected when you intend to compose makes it easy to start immediately without losing time and facing useless technical hiccups.
Know Your DAW Like the Back of Your Hand
As I record with physical instruments, I work with the DAW mostly for recording, editing, and mixing. In the beginning, I used to be uninterested in having in-depth knowledge of the software; I didn’t feel it necessary as I was more keen on playing traditional instruments.
I changed my attitude towards it when I learned what every button stands for and that the more I knew my DAW, the more I could do with it. When I learned how to correctly route signals in the DAW and with a hardware mixer and work with automations, it made a huge difference in the composition process.
I have been using Ableton Live since 2010 and it’s the first DAW I learned inside out. In 1999, I had been using Cubase SX for some time and later on, when I started to work as a sound designer, I used Pro Tools. When I started with Ableton, I learned it had different ways and methods to obtain the same result. I was fascinated by this aspect and I decided to stick with it. I started to learn by myself with online tutorials. I managed to get some advanced lessons from a good friend too.
In the beginning, it felt weird to compose in a non-horizontal way, but later on I really got into the “session view.” It was surprising to be able to quickly record clips, loop them together, create automations within the clips, and edit them. I found it perfect for experimenting at the start of a new composition and I could not find these functions in other software.
When I switched to Ableton, the editing also felt smoother and quicker. I found the piano roll nicely made, the keyboard shortcuts, and the automation system extremely user-friendly and easy to include in the process.
Also, so many functions are customizable like having your own template when starting a new track without having to route or insert the same tools every time you start a session, as well as smoothing the whole process of mapping external controllers, adding shortcuts, and personalizing the sidebar, which in my case gives so much more flexibility to the post-production and sound-design work.
Record When You Improvise and Play Sequences by Hand
Usually, I start to experiment by improvising with my instruments: electronic or acoustic ones, field recordings, or whatever sound source I have in mind, even my voice. I tend to record what I am playing; otherwise, I would forget what I did. I have a terrible memory and I forget melodies and notes. If I have to play them live, I have to write down something that triggers my memory. I use a kind of “handmade approach” in composition and I like to play patterns just by hand, without a sequencer. I often use synths which don’t have MIDI, or just acoustic instruments. I feel comfortable with this way because I feel it “humanizes” the composition. It gives it a personal character and transfers the emotional memory of the moment it was created.
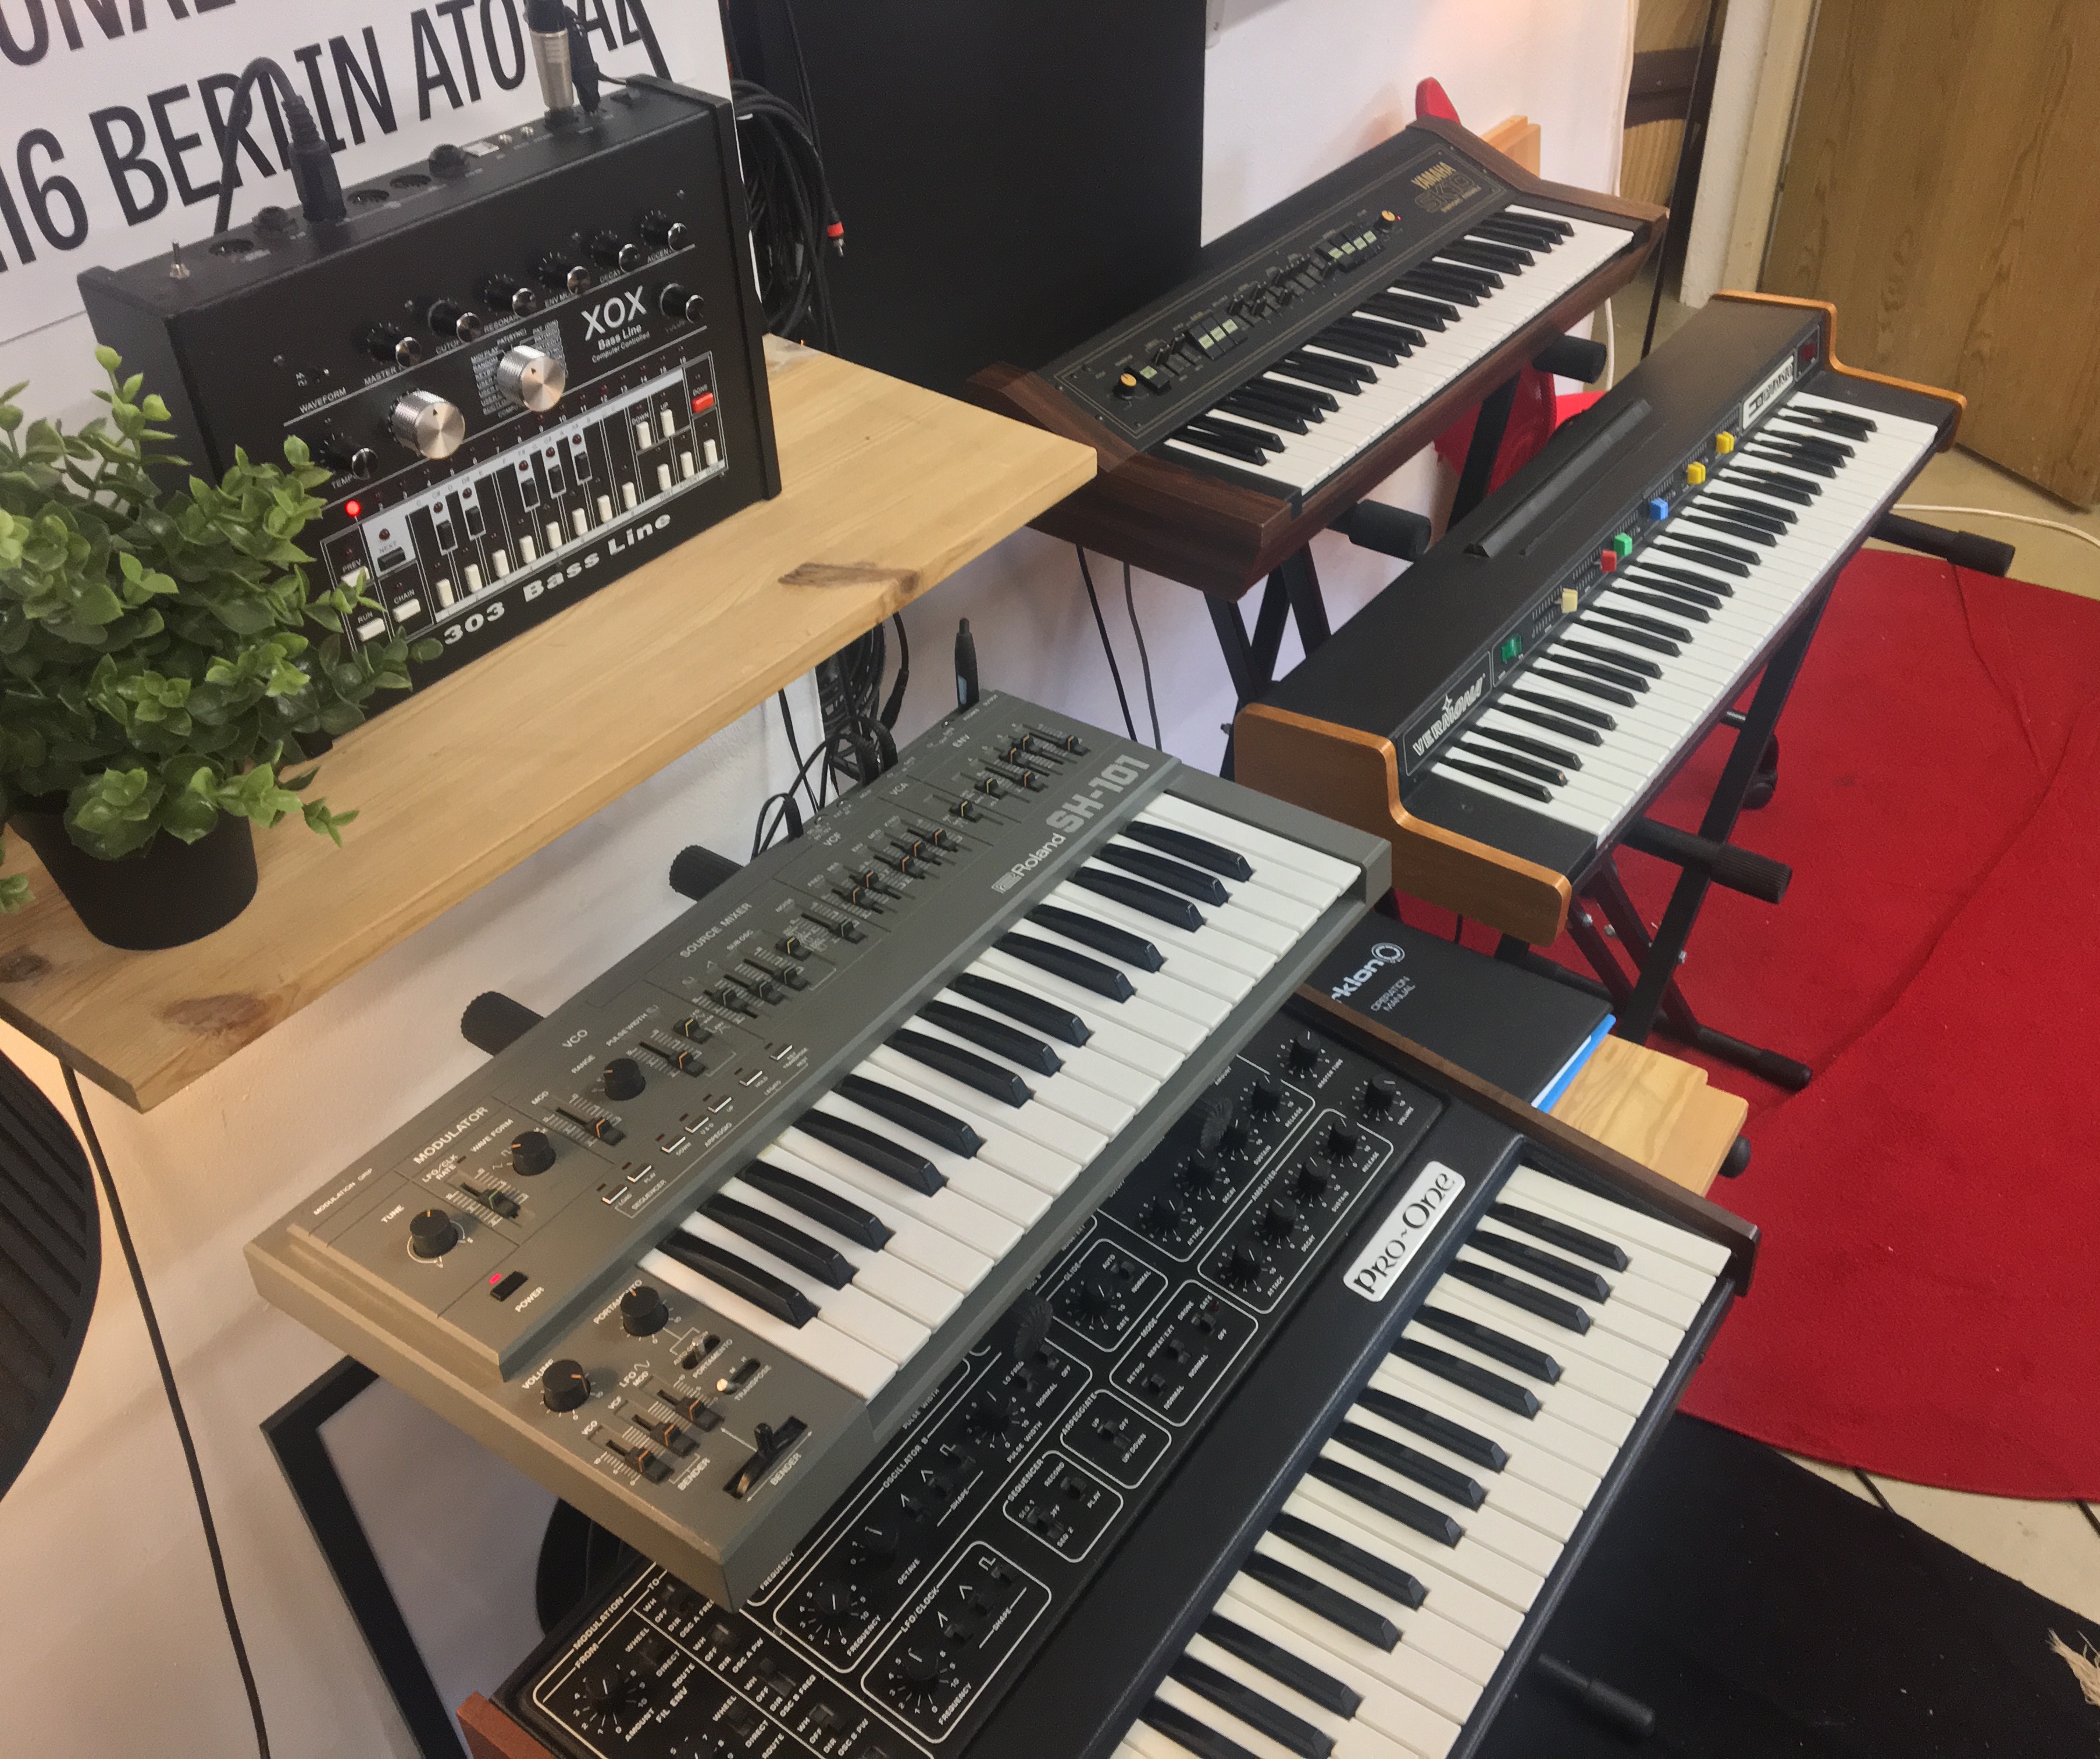
In “End of Cycles” and “Recollection,” the main protagonists of the tracks are the Vermona E-Piano and the Yamaha SK-10 and the patterns are played by hand with a metronome. Sometimes I might double the pattern with different notes using a sequencer in order to combine the two elements. I like doing this especially with the Yamaha DX7 and the Oberheim Matrix-1000 as I did in “When It All Was Flourishing.”
If I’m working on creating a more experimental track, or a “wide” one, I would directly record into the arrangement view of Ableton. I find this to be useful especially when the parts are beat-less. I would use the session view when I need to work with the grid and loop the recorded clips. In this case, I start experimenting in one scene where I continue adding material in new tracks on the right side of the recorded one, right next to each other. At a later stage, I decide what to keep or not.
Start and Stick to One Instrument
Many producers tend to have lots of instruments in their studio, and those who don’t have hardware will have tons of VSTs. My suggestion is to stick with one instrument and create a composition by using just one of them. This allows you to study and explore the instrument and put beneficial limitations to your work. I agree with the common idea that limitations foster creativity in some ways. I founded One Instrument as a platform to showcase sound studies which adopt this approach.
I came up with the idea after noticing I was switching between instruments too quickly and sometimes being impatient with them. One day I forced myself to create a composition using only the Korg MS-20 (Classic). Since that day I tend to start every new track this way in order to maximize the instrument potential. Only when the main idea is drafted I add other instruments.
Take Piano Lessons
The first instrument I played was a toy keyboard and I learned to associate the notes on the keyboard to sheet music together with my grandmother who used to sing along. When I was 10, I started with guitar lessons and, after that, piano training and a basic cello course a couple of years ago. I know that nowadays with all the fancy software tools, arpeggiators and sequencers where you can easily create melodies and patterns, loads of producers don’t play actual instruments, but I still believe even just taking some months of piano lessons in order to get the basics will help you later on. It will be useful to understand harmonization and arranging more consciously. I could sit for hours only playing with my acoustic piano, and sometimes it just helps to compose better without all the technology being around to distract you.
Record Dry Signals
When I add effects to a recording, I like to use the Eventide H3000 D/SE or the Lexicon MPX 100. These two are connected to the mixer and used as return channels. I also have a hardware effect chain containing a series of 10 guitar-effect pedals, such as distortion, ring modulation, pitch modulation, chorus, reverb, delay, and flanger. I have used this chain on tracks such as “Ecouri” and “Playing In Jannah.”
In regards to internal plugins for processing audio, I only use some of the INA GRM Tools and nothing more. For adjusting frequencies I use the Brainworx bx_digital and the Voxengo Span as an analyzer. I would like to buy a hardware analyzer too.
Recording a dry signal that doesn’t run through the effects chain is important so that you can eventually post produce the recording later on. I would, for example, never record a signal with loads of reverbs. I would prefer to add that afterwards because once it’s there you can’t go back. I would also use both signals, the dry one and those with effects, together with different EQ and/or panning.
As for VSTs, I sometimes try to use Reaktor in my compositions but for some reason, I cannot make virtual instruments really fit, so if they happen to be there it’s mostly a really small part. There is something of their presence that maybe does not reflect the sound I have in mind. Besides that, I really like to have a physical approach towards the instruments.
Be Selective and Give Yourself Sometime Before Going Back to Newly Created Work
After the idea has been layered and the arrangements are set, let a few days pass before listening to it again. Usually, I would go back to the first studio draft two to three days after, hoping to still like it. In this phase, I wouldn’t even continue to work on a track if I didn’t like it or if I went back to it and it turned out to be a bad idea. You might end up wasting time if you’re not convinced from the start. When I still enjoy listening to the first recording session, I keep working on the arrangements and the length and evolution of the composition. Sometimes this process comes naturally, other times it turns out to be the hardest part. I might also create different versions of the same track if I plan to build different narratives or arrangements. It’s like creating different stories where the characters stay the same.
Mix During Composing and Recording
I mix during the whole production process, including the recording phase when I add instruments and layers, and afterwards too. Many producers keep the mixing as the last process of the production phase, but I like when the major part of the mixing is done ahead of that and I’ll only revise minor mixing adjustments. During the composition and recording, as I tend to add layers, I am forced to mix in order to rebalance everything and give each stem its space and place. In this way, mixing is part of the creative process, a big part.
With practice and time in the studio, I learned that every instrument needed its own space to breath and therefore I would always record and mixdown each instrument separately.
In my stems, you will always find an EQ and compressor, and often a reverb. Sometimes the mix subverts the recorded sound or, in other cases, it slightly enhances it.
Revisions are Key
I let some time pass before listening to the final version of what I composed. I upload the exported track to my Dropbox, where it could stay untouched for weeks or months, and would go back to it when I will have a clearer idea about its potential. When I decide that it is going to be a track worth keeping, I would listen to it carefully again, and write down on paper the adjustments I will do in the studio. I find this helpful in keeping the revision process as critical as possible.

