Artist Tips: Adesse Versions
The Manchester-based artist advises on creating a raw and heavy sound with Ableton Live.

Artist Tips: Adesse Versions
The Manchester-based artist advises on creating a raw and heavy sound with Ableton Live.

Adesse Versions is just one alias of Kevin Gorman, a Manchester-based DJ-producer whose earlier work landed on the likes of Ostgut Ton, Cocoon, International Deejay Gigolo to name just a few.
The roots of this particular project date back to 2012 when he decided to launch a re-edit series with humble ambitions of self-releasing a few white labels—but it has grown considerably from there. Having quickly found acclaim, Adesse Versions has maintained a steady stream of original productions and remixes, all of which appear amongst the edits—on labels including Numbers, Local Talk, Heist, Toy Tonics, and Crosstown Rebels. His most recent remix was for the re-issue of Leftfield’s legendary Leftism album.
Interestingly, he explains that software is the main part of his production process: the vast majority of his impressive productions have been produced using only samples, Ableton live, and a mixing desk, rather than the hardware-heavy setups endorsed by so many today. Talking here, therefore, Gorman gives five tips on how to get the best from his production approach.
Today I want to talk about a way of creating a raw and heavy sound. In particular, how you don’t need thousands of dollars worth of hardware to achieve it. We live in an age of gear fetishism: almost every week a new synth or drum machine comes out, all promising that “authentic” sound—creating a generation of hungry music equipment consumers, who think that they can’t succeed without the latest bit of kit, or a classic (and very expensive) drum machine.
So, to buck this trend, I’m going to focus on a few things that you probably already have, such as presets built into Ableton Live. Plus a few other elements that have been a vital part of my productions for the last few years.
Adesse Versions will be at Farr Festival alongside names including Craig Richards, Young Marco, and more. More information here.
Get mono and distorted with Amp.

This has been my go-to plugin for years.
In most cases, I don’t even fiddle with the preset value. I insert it on a track and just change the dry/wet setting. Mostly I have it set to a small amount, to add crisp distortion to the highs and a boomier low end. I also leave it set to MONO because MONO is your friend (more on this later). I find Amp works best on midrange sounds—snares, claps, lead synths, and vocals. It gives a lovely boxy lo-fi effect.
Another favorite of mine is to load a synth sample (cheaper the better, e.g Casio 8 bit) into Simpler, put the spread to 100% and then insert the Amp after that. At 100% wet you get beautiful distorted mono chorus weirdness—think Hieroglyphic Being or ’80s Chicago House. Or pull down the wetness and bring in some of the stereo spread for a richer sound.
For an example of this, check the synths on my track “First Time” for Numbers. Or the drums on my remix of “Original” by Leftfield.
Use Saturator to Get Kick Drums from Chicago
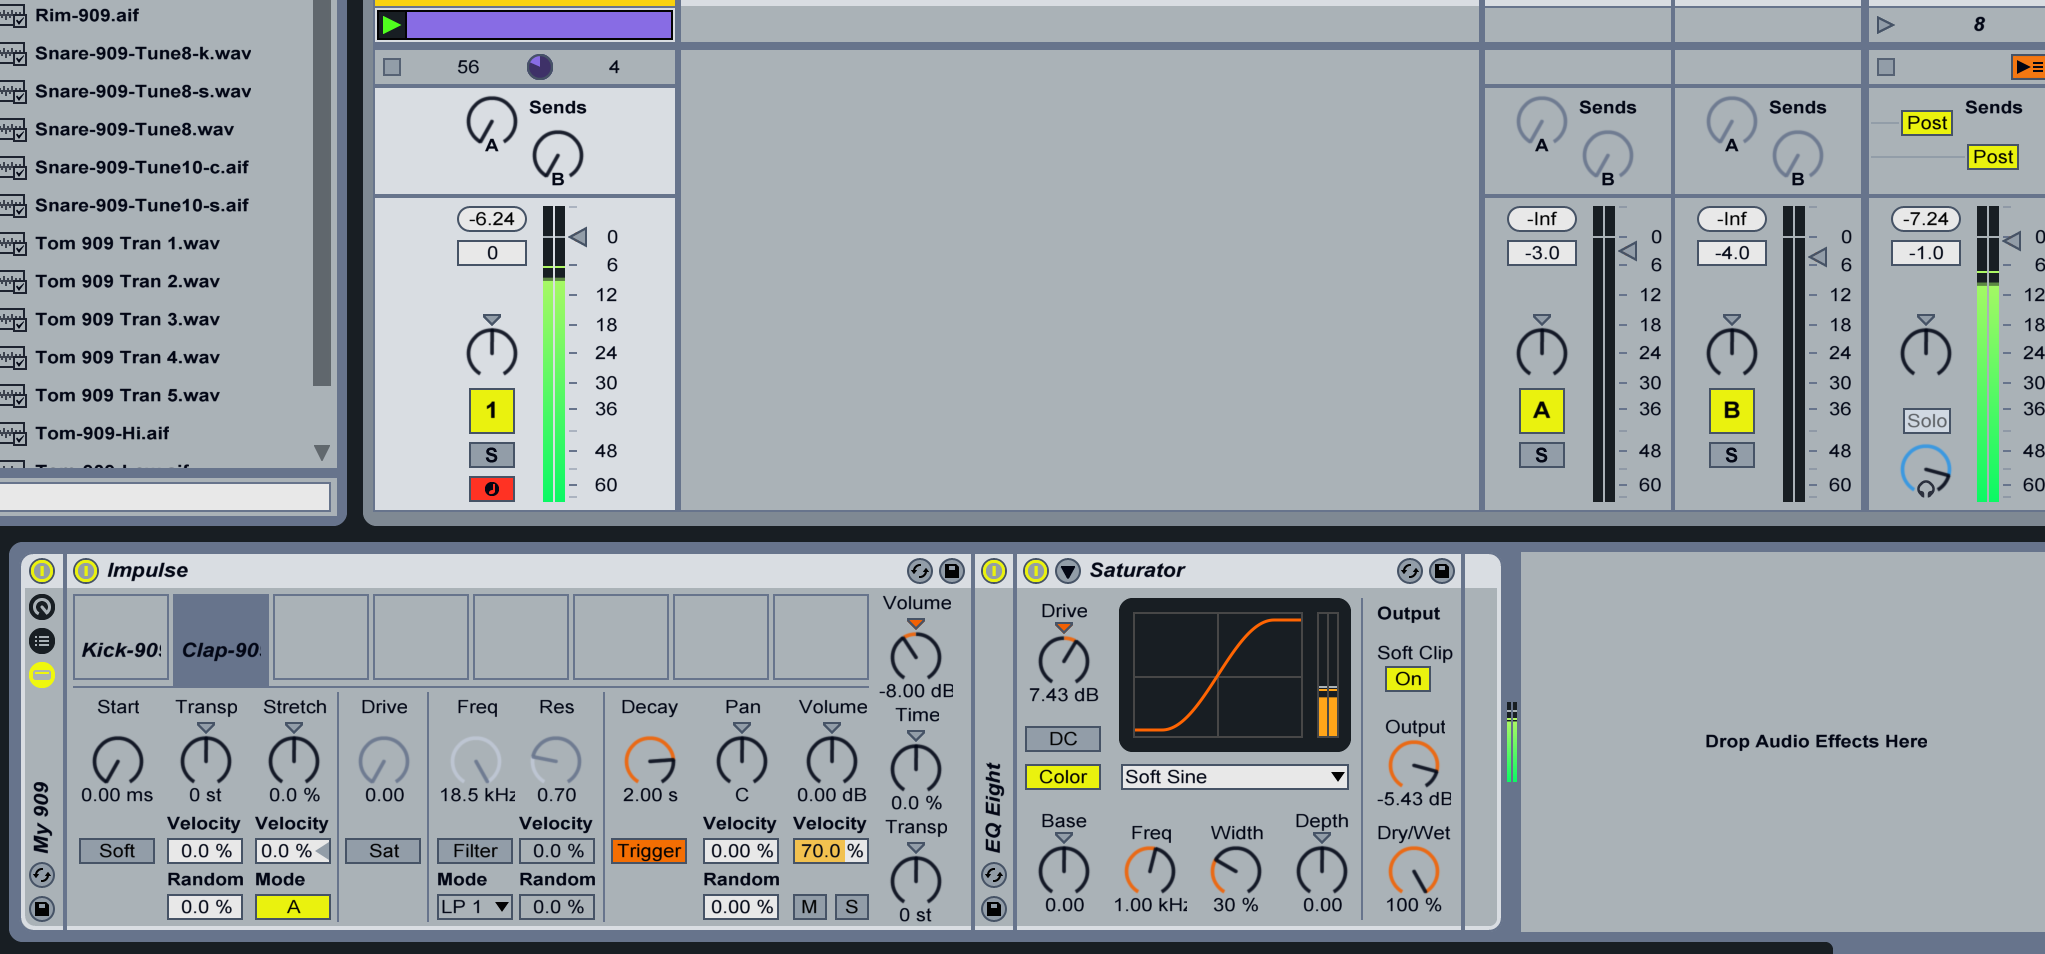
Saturator is my new Amp. I really am quite lazy. I can’t be bothered to research the latest and best plugins. I’d rather spend my time getting what I can out of Ableton Live. Though to be fair, it doesn’t disappoint. Saturation is beautiful on kick drums, especially the 909. Set it to “Soft Sine” and “Soft Clip” then gradually turn up the gain. Slowly listen to the bass start to disintegrate. I like it just at that point before it gets too obvious. I want my kicks to sound like ’90s Cajual, not Dutch Gabba.
Another tip: group your kick and clap together, then put that through the Saturator. It sounds lovely when they hit together. I’d been doing this for years with my hardware mixer, but this is equally effective—and kinder to your hardware.
Saturation is also good for adding some midrange distortion to a very “subby” basslines, to make your bass more audible on small speakers. There are hundreds of more uses for it, but that’s mainly how I roll!
Choose Mono Reverb for Raw Sounds
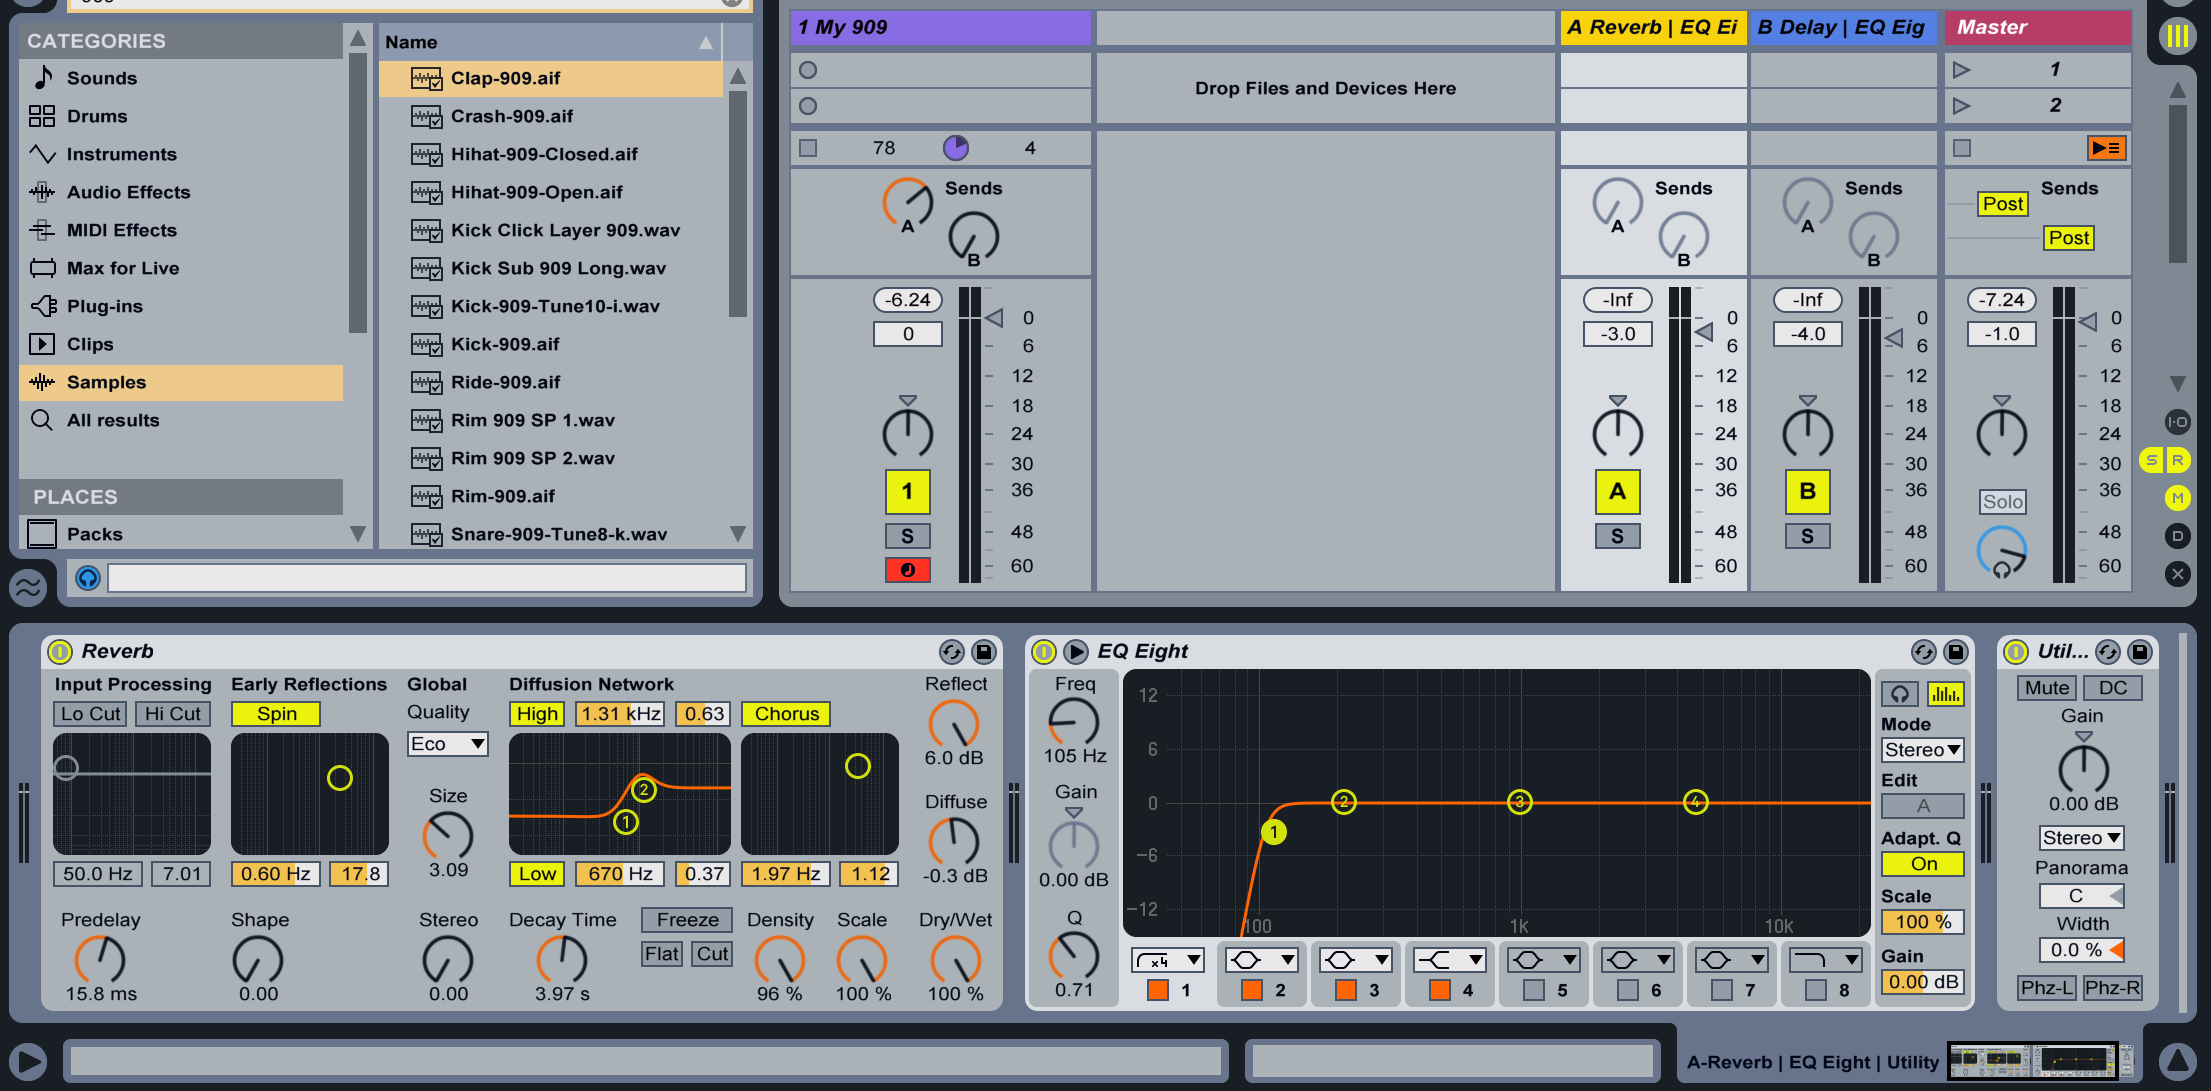
If you are into raw sounding ’80s and ’90s productions, mono is the way to go. Not for the entire mixdown, but certain elements. There is beauty in the simplicity and directness of mono sounds.
Years ago I was messing with the Ableton Live Reverb plugin and just happened to turn the stereo image to 0% (i.e. Mono). Instantly I could hear that raw and rough reverb of old records. It was direct and basic, like a Green Velvet track or even King Tubby.
For years, I’d not really used Reverb much, but now it’s all over everything I do, just in mono. Mostly, as a send and return effect, so all channels share the same basic reverb send. This is another old school trick, from when people only had a couple of effect units in their studio to call upon. I also like the Reverb plugin on ‘eco’ mode—cheap and full of character!
To hear this in action, check the track “Push It Along” on Heist. All the sounds are sent to a basic mono Reverb effect. Sometimes in subtle ways but also as a big reverberated crash at the end of sections.
Use Your Ear While Mixing Down
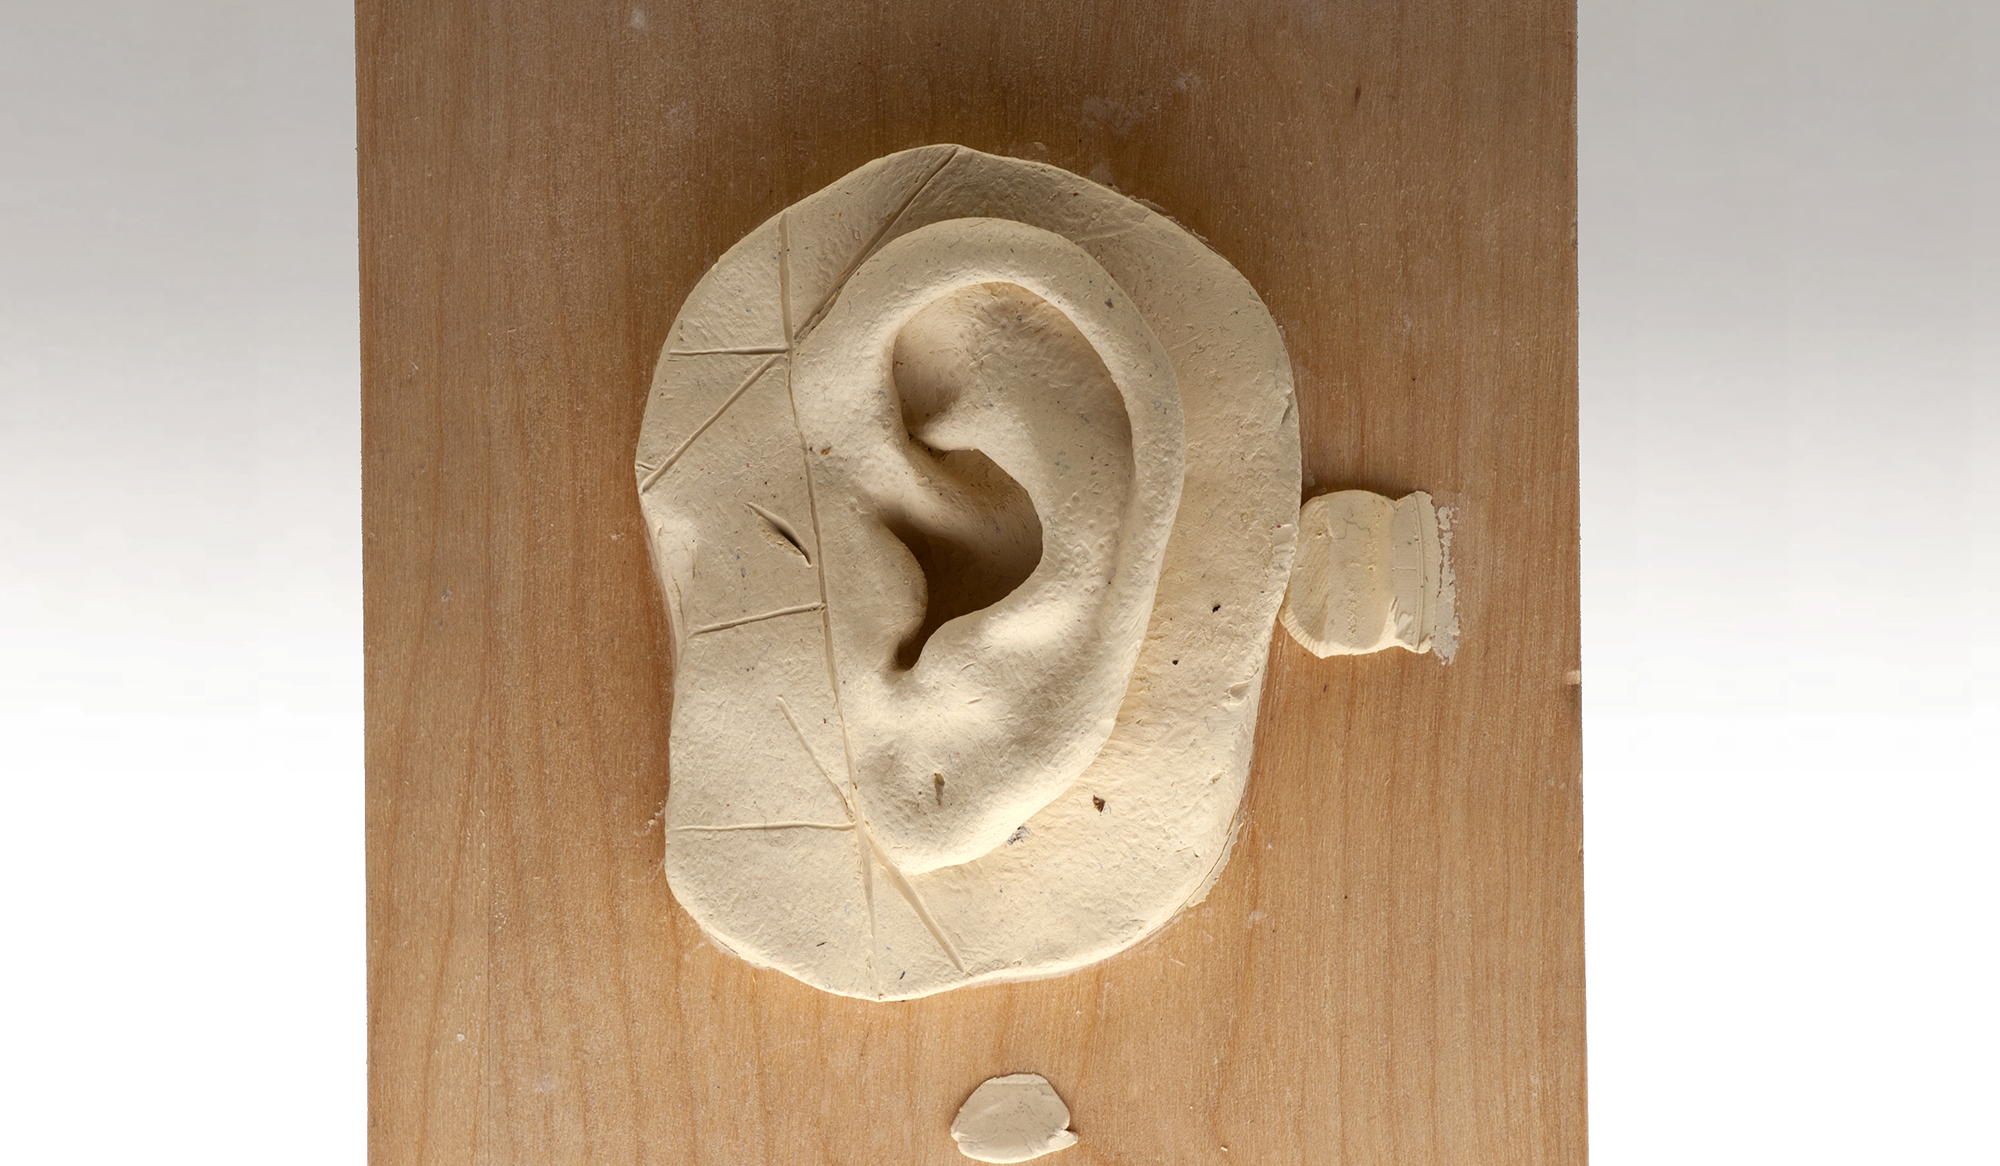
Now to a bit of equipment most of us have: ears. Specifically, just one of them. At the mixing down stage, I find it really useful to turn sideways to the speakers and hear the mix mostly through a single ear. It somehow condenses the track to the bare essentials. The subtlety and nuances are lost, so you focus on the important elements. I’m not advocating to finalize your mixdown this way, but every now and then to check back. It might not work for you, but I find it really helpful for getting focus in the mix.
One more thought about mixing down, as I know a lot of people get frustrated at this stage. Over the years, I’ve managed to cultivate an approach that really works for me. It’s hard to put in words, but I’ll try. Essentially it’s kind of an intuitive but detached attitude. So I’m listening but not really thinking too much. I’m feeling the sounds, letting my intuition guide my movements with the faders. Little nudges here and there. Going with the flow. Lots of muting and un-muting, using the ear (as above) and just generally being relaxed about it all. This is the best way for me.
Get a Hardware Mixer
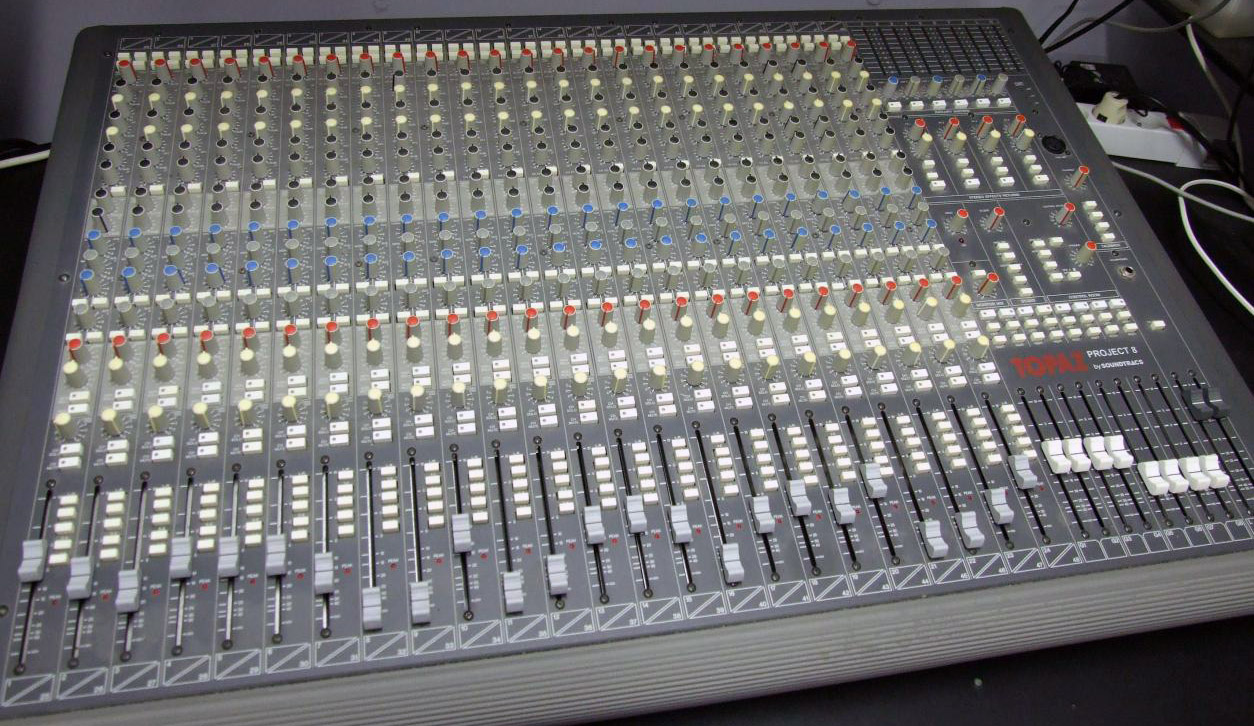
So if you love a raw production sound and want to dabble in hardware, this would be my very first suggestion. Get yourself an inexpensive mixing desk. Something with decent EQ, like a Mackie or Soundcraft, easily attainable for less than £200 / $300 used. But not too slick or costly, because you’re going to overdrive the inputs and generally abuse it. eg. A Mackie 1604 is perfect.
Having a hardware mixer is boss! You can’t help but feel like Dr. Dre mixing down with real faders. But best of all, it’s the sound. It strips away that digital sheen, especially if you overdrive the signals. Likewise, the EQ just sounds so sweet in comparison to software. It’s hard to explain how, but it just sounds raw.
Of course, to use a mixer properly you’ll need a sound card to multitrack everything across the channels, but these don’t cost a lot these days; something with eight or 10 outputs is ideal. I use a Focusrite Saffire Pro 40
My workflow always ends with mixing down through my Soundtracs desk. I love this part. The track is complete, I’ve not heard it for weeks or months. Now I just focus on the sound and texture, pushing some elements into distortion, keeping others clean. Then sculpting everything with the desk EQ. I record the track live through the mixer and that recording is my master. No fiddling or tweaking with it on the computer, I keep it as far way from digital as possible.
Everything I’ve done since 2013 has been recorded this way. First I used a Soundcraft Spirit FX8, then more recently I’ve expanded to the Soundtracs Topaz 24-8.

