Pedal Pusher: Getting Under the Hood of A Place to Bury Strangers’ Signature Guitar Sound
Word on the street these days is that Oliver Ackermann’s group, A Place to Bury […]

Pedal Pusher: Getting Under the Hood of A Place to Bury Strangers’ Signature Guitar Sound
Word on the street these days is that Oliver Ackermann’s group, A Place to Bury […]

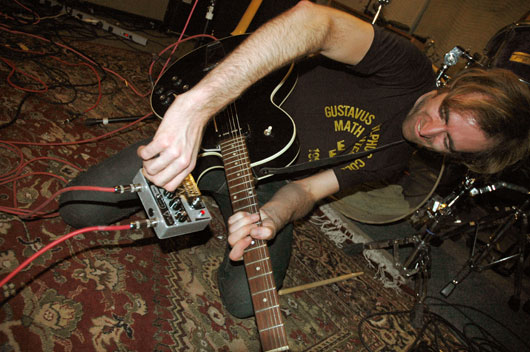
Word on the street these days is that Oliver Ackermann’s group, A Place to Bury Strangers, is the loudest band in New York. And one can only assume that that’s due to singer/guitarist Ackermann’s uniquely fuzzy, noisy ax sounds, which he crafts with his own line of pedals under the company name Death By Audio. We talked tech with the Brooklyn band leader and got the lowdown on how he makes his custom effects boxes.
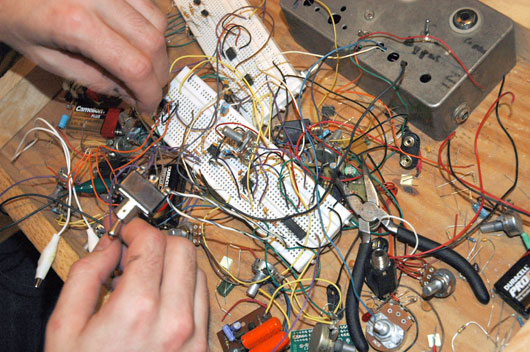
The first steps in creating an effect that sounds really cool are research and experimentation. I will read chip documents, use knowledge from previous designs I’ve come up with, and experiment with the design on a solderless breadboard. Swapping out components and trying some things that are not suggested are sometimes the keys to getting really good results.
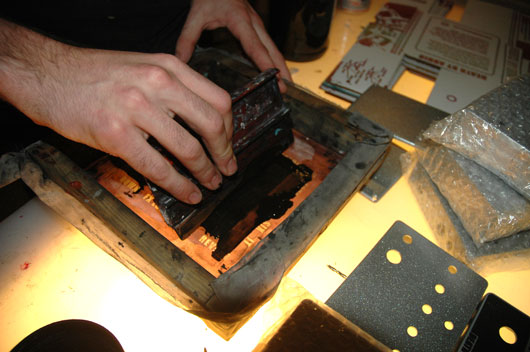
Once the design is complete and sounding sweet on the breadboard, all of the controls are mapped out on an aluminum die-cast enclosure. I have to make sure everything will fit and interact with the foot and hand in the best way possible, as well as be durable and held together to withstand being thrown around. The enclosure is then drilled, powder-coated, and silkscreened so it’s all ready to have the guts and brain put in.
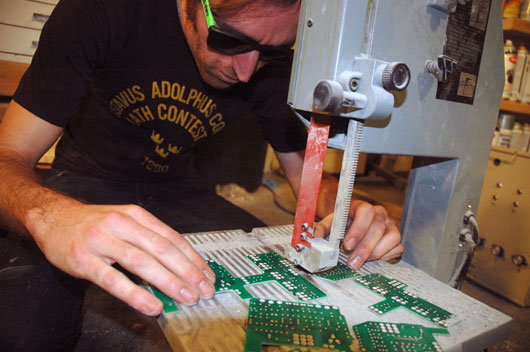
The circuit boards are made to fit in with as many components connected directly to it so it will be stable and hold everything together. It is drilled, etched, and then cut out on a bandsaw to be the right size for all of the parts to fit around it.
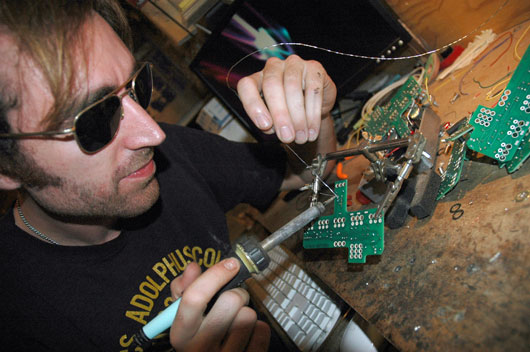
Next, the components are placed into the pedal and all of the initial wiring is done. The circuit board is populated with the resistors, caps, transistors, and other pieces of color-coded candy, and then soldered together. It is dropped in and hardwired to the parts on the inside. Then all the traces are triple-checked and it is tested with a multimeter to ensure all connections are good and the transistors are all biased correctly.
All of the knobs are put on, a battery is put in, the back plate screwed on, and little rubber feet glued to the bottom. All that’s left is picking up a guitar and it’s time for a little fun with this Supersonic Fuzz Gun!
