Artist Tips: Christian AB
The key processes behind his debut album.
Artist Tips: Christian AB
The key processes behind his debut album.
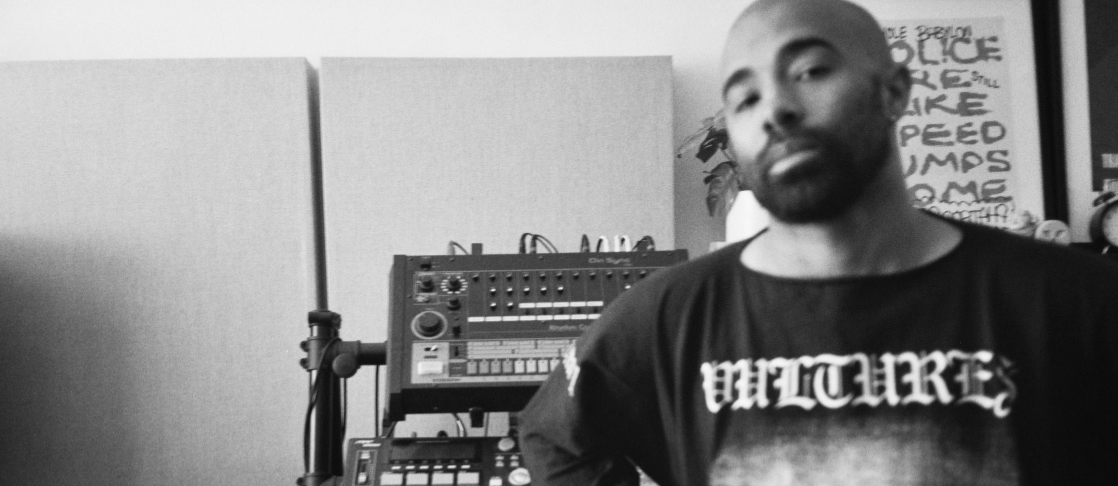
With a passion for unearthing forgotten house and techno gems, Christian AB—a British DJ-producer born Christian Alexander Browne—has easily settled into Berlin’s vinyl-loving community. As a producer, he’s made his name through a handful of EPs for Francesco del Garda’s Timeless imprint, and in July he released his debut album, on Ryan Elliott‘s Faith Beat label. Club-focused-and-club ready, The Nu Life delivers a raw yet minimalist approach to house music while drawing on dub and acid. Conceptually, it takes influence from Chicago, Detroit, New York and London, and more broadly the sounds of Christian AB’s early days of collecting music and those he’s been passionate about for the past decade and a half. To produce it, he combined modern technology with select pieces of older outboard gear, and in this edition of Artist Tips, Christian AB talks us through some. of the key processes he used.
Resample for a Lush, Organic Sound
Resampling is a core part of my workflow. I often start by routing a sample through a few external effects units, experimenting with different combinations to create a unique and cohesive sound.
By applying various effects—such as reverb, delay, chorus, and modulation—and then resampling the processed sound, I can capture the warmth and unpredictability of analog gear. This process adds a depth and character that is sometimes difficult to replicate with digital effects alone.
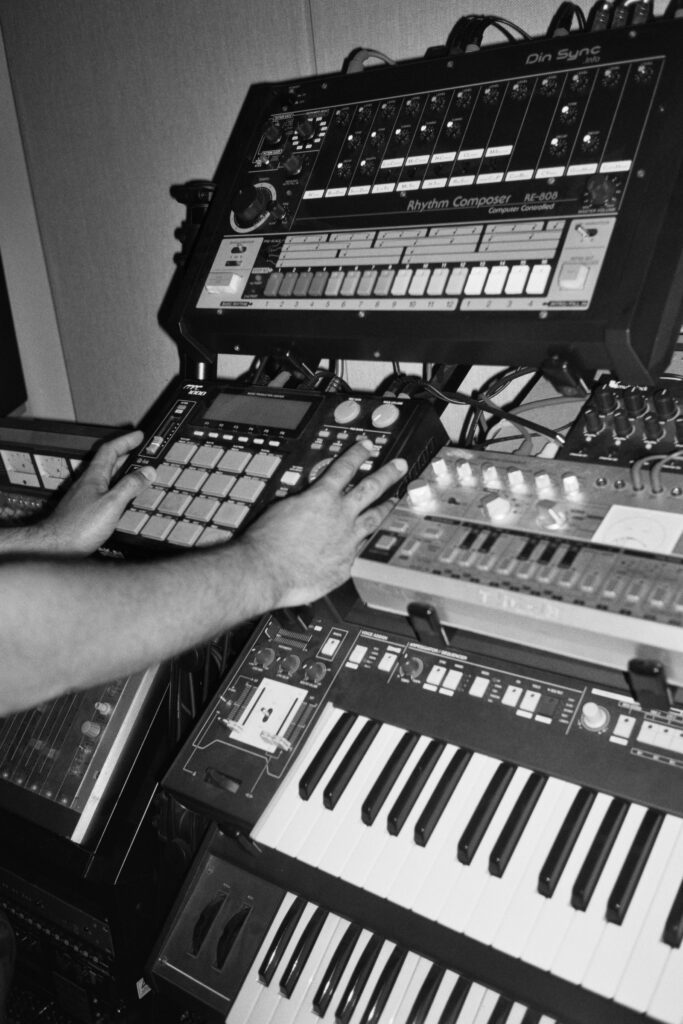
For example, I frequently run my kick drums through a LEM Baby Echo Chamber, which adds a warm, analog delay, and then into an Ensoniq DP/4 Parallel Effects Processor, known for its rich modulation and dynamic effects. While processing, I monitor the wet signal to fine-tune the effects and ensure they blend harmoniously. The output is then recorded back into my sampler, capturing the intricate details and subtle nuances added by the effects chain.
This technique consistently results in an unpredictable, lush, and textured layer that feels organic and alive. A prime example can be heard in my track “Bluescreen,” where the phase, delay, filter, and flange effects have dramatically altered a simple 4×4 kick pattern, turning it into a complex, intense rhythmic element. The resulting sound is far from the original sample, showcasing how effective resampling can be in transforming a basic sound into something entirely new and interesting.
After the initial resampling, I often further manipulate the sound. This may involve adding distortion by pushing a mixer channel into the red, compressing to shape the dynamics, or using software plugins for additional modulation.
This hybrid approach, utilizing both outboard gear and digital tools, allows for the creation of complex, unique sounds that are rich in texture and character. By layering these resampled and processed sounds, I can build a sonic palette that stands out and adds depth to my productions.
Time-Stretch for Unique Textures and Rhythm
Time-stretching is a technique where you alter the duration of a sample without affecting its pitch. This method allows for creative manipulation of sounds, making it possible to craft unique textures and rhythms that wouldn’t be achievable through traditional means.
When you slow down a sample, like a melodic phrase, the result is a deep, elongated sound that can evoke a sense of space or introspection. This slowed-down effect can be especially effective for creating tension or a haunting atmosphere. Notably used on “Keystrokez,” where I layered two samples together, resampled, and then time stretched them. Turning a simple chord and hi-hat into a kind of ambient wash, emphasizing the emotional weight of the track.
Speeding up a sample, on the other hand, can produce high-energy, staccato rhythms that are perfect for adding intensity and drive to a track. For example, a sped-up vocal sample can become a rhythmic, almost percussive element.
Pushing time-stretching to its extremes can introduce various artifacts, such as glitchy stutters, grainy textures, and digital distortion. Further manipulation can involve layering the time-stretched sample with other elements or applying additional effects.
For example, reverb can accentuate the stretched quality, making the sound even more ethereal, while delay can create rhythmic echoes that sync with the new tempo. Modulation effects like flangers and choruses can add movement and width, enhancing the mechanical feel of a heavily time-stretched sample.
This technique is not just limited to melodic phrases; it can be applied to any type of sound, including percussive hits, ambient noises, or entire song sections. The key is to experiment with different stretching amounts and listen to how the artefacts and new textures transform the original sound.
Set Loop Points to Make Your Music Feel…Alive!
Something I love to do is set loop points within a sample and use modulation sources to dynamically alter these points over time. This transforms a static sample into an evolving texture, as the loop points shift through different sections of the sample.
This is how I do it.
Setting Initial Loop Points
Start by identifying a segment of your sample that you want to loop. This could be a specific note, chord, or any interesting sound within the sample. Set your initial loop points to create a continuous playback of this segment.
Applying Modulation
Introduce modulation sources such as LFOs to control the loop start and end points. By routing an LFO to modulate these points, you can shift the loop region dynamically. For instance, an LFO might slowly move the loop’s start point forward, causing the playback to progress through different parts of the sample. Alternatively, using an LFO to modulate both start and end points can create a constantly changing loop length, adding an unpredictable rhythmic or melodic variation.
Experimenting with Parameters
The speed, depth, and waveform of the LFO can all be adjusted to achieve different effects. A slow sine wave LFO might create smooth, subtle changes, while a faster, more erratic waveform could produce glitchy or jittery movements. You can also sync the LFO to your project’s tempo, allowing the loop points to change rhythmically in time with the music.
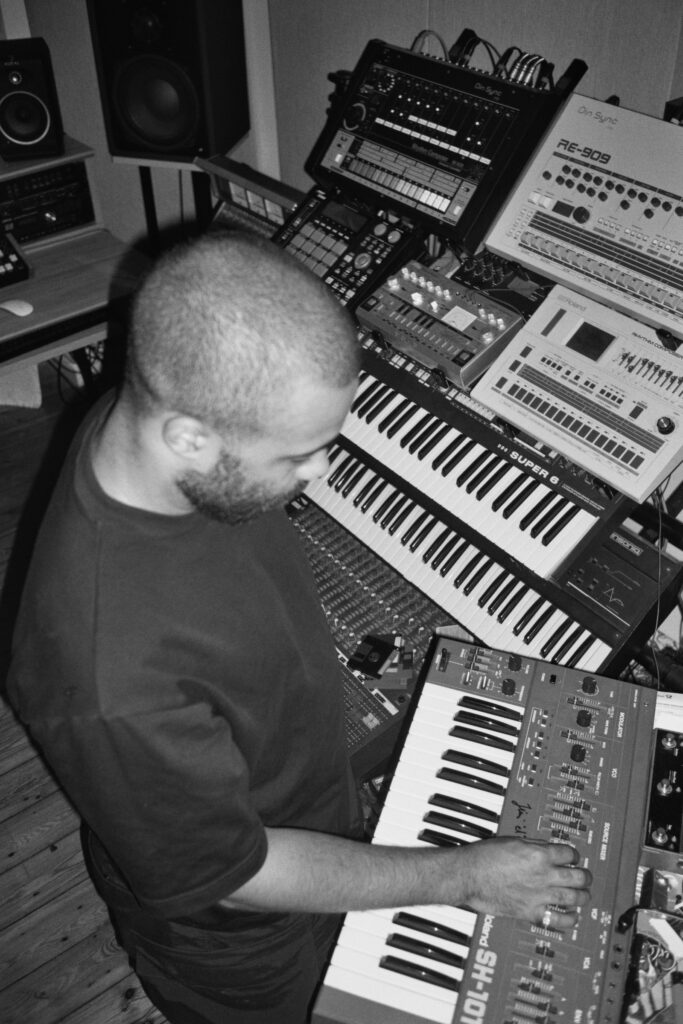
For example, in my track “Infinite Resonance,” I used this technique to bring life to an arpeggio sampled from my UDO Super 6 synthesizer. I set the loop points within this arpeggio and applied LFOs to modulate the starting position of the loop. This meant that each time the sample played, the LFOs would select a new starting point, in effect creating a continuously shifting pattern. This transformed what was originally a simple, repetitive arpeggio into a more complex and evolving sequence.
This technique is particularly effective for creating evolving pads and textures, reminiscent of early ‘90s electronic productions. By continuously morphing the sample, you can generate a sense of movement and progression, making the music feel more alive and dynamic.
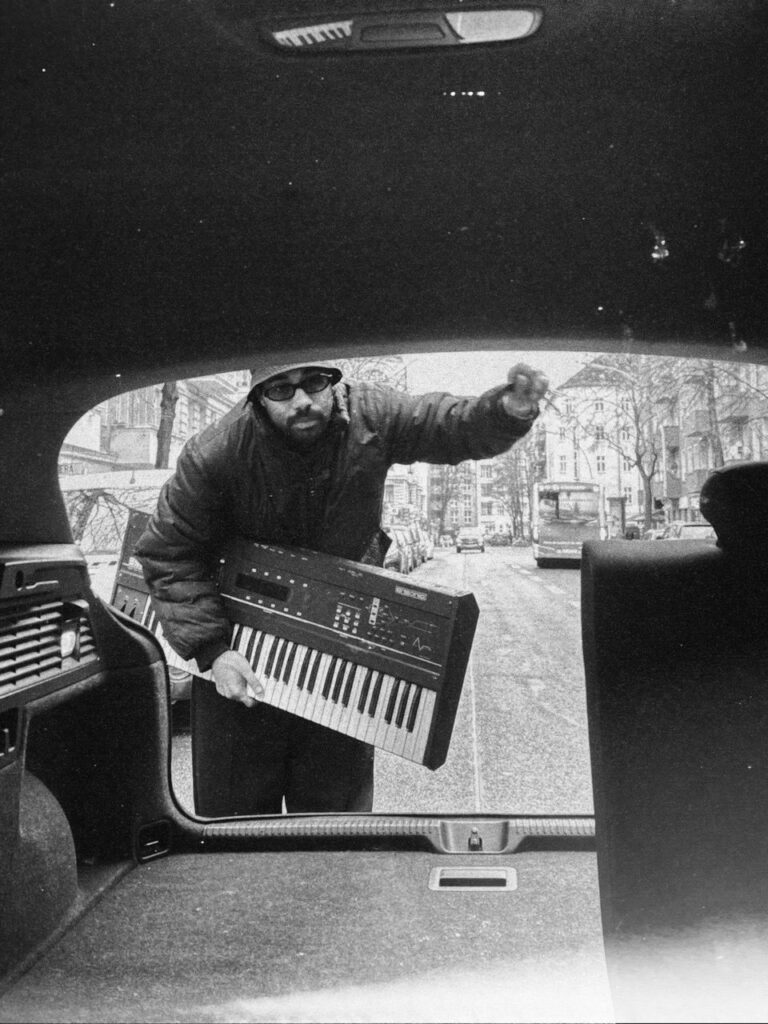
Use Layered Pitch Shifting for Added Depth
Layered pitch shifting is a cool technique where you take a single sample and make multiple versions of it at different pitches. This can turn a basic sound into something rich and multi-layered. By adjusting the pitch of each layer—either subtly or dramatically—you can create a wide range of sounds, from lush, harmonious chords to eerie, dissonant textures.
You start with a base sample, which could be anything: a vocal snippet, a synth pad, or even a drum hit. Then, you make a few copies of this sample and change their pitches. For example, if you slightly detune one layer up and another down, you can get a chorus effect, making the sound wider and fuller. Or, if you want something more complex, you can shift one layer up by a fifth and another down by a minor third to create a full chord or a more intricate harmony.
You might want to go for a harmonic sound by layering thirds, fifths, or octaves, giving it a rich, orchestral feel. Or, you could use unusual intervals like minor seconds or tritones for a more tense, suspenseful vibe.
After you’ve layered and pitch-shifted your samples, you can resample the whole thing and add some effects. Reverb can make it sound spacious, delay can add rhythmic echoes, and distortion can give it some edge and character. You can mix and match these effects to either highlight the harmonious parts or emphasize the more experimental, dissonant elements.
This isn’t just for melodic or harmonic stuff either; you can use layered pitch shifting on rhythmic elements too. For example, by pitch-shifting and layering different drum hits, you can create complex, evolving rhythms.
Layered pitch shifting is all about playing with the tonal and textural aspects of your samples. It’s a great way to explore new sounds and add depth to your tracks, offering endless creative possibilities.
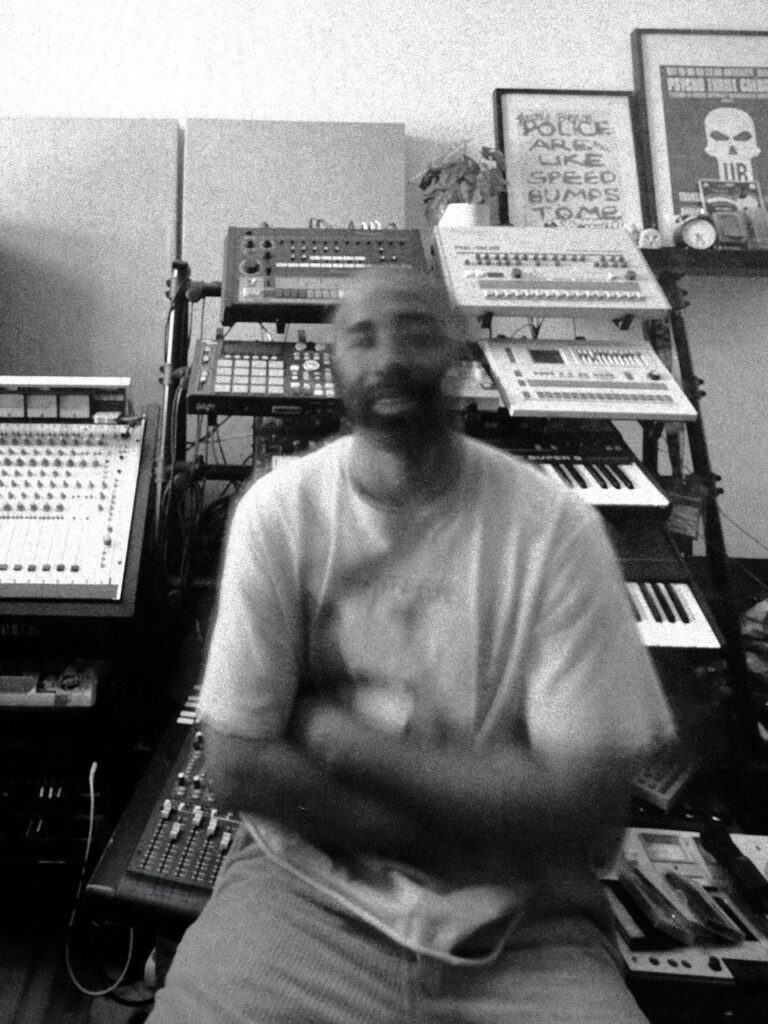
Try Hardware Samplers for Added Grit
In my studio, I love experimenting with different hardware samplers to get the most of my samples. My absolute favorite is the Yamaha TX16W, which has this gritty, early digital vibe that I can’t get enough of. You can hear it in almost all of my music. It’s my go-to for processing samples because its lower bit rate and cool filters give everything a distinctive character. The sampler operates at a 12-bit resolution, which is lower than the usual 16-bit or 24-bit we use today. This lower bit rate adds a bit of noise and some quirky artifacts, giving the samples a crunchy, warm feel. The filters on this thing add an almost analog warmth that I really like.
Some might wonder why I go through the hassle of using hardware samplers when there are so many software options out there. Well, the main reason is the color and harmonic distortion they add. Hardware samplers bring a unique character to sounds that’s hard to replicate 1:1 in the box. The imperfections and limitations of older technology almost always add a warmth and depth that just sounds right. Plus, there’s something about the hands-on control with physical knobs and buttons that makes sound manipulation more intuitive and fun.
Of course, they all come with their own set of challenges, like limited memory and slower processing times. But I get around these issues by being selective about what I sample, focusing on key elements that will benefit most from the hardware’s unique sound. I also blend the processed sounds with digital elements in my DAW, combining the best of both worlds. Over time, I’ve developed a streamlined workflow that integrates hardware samplers into my production process, minimizing downtime and maximizing creativity.
If you don’t have a hardware sampler, you can still achieve similar effects using software. Bitcrusher plugins are a great way to reduce the bit-rate of your samples, mimicking the effect of older hardware. By lowering the bit-rate, you can introduce some of that desirable grit and warmth.
Emulation software is another option; there are plenty of software emulations of vintage samplers. These emulations replicate the sound characteristics of the original circuits. You can also use digital filters that emulate analog gear to add warmth and character to your samples. Many modern DAWs come with built-in plugins that can do this, or you can find third-party plugins…whatever works!
The Nu Life is available now.
All photos: Artist’s own

